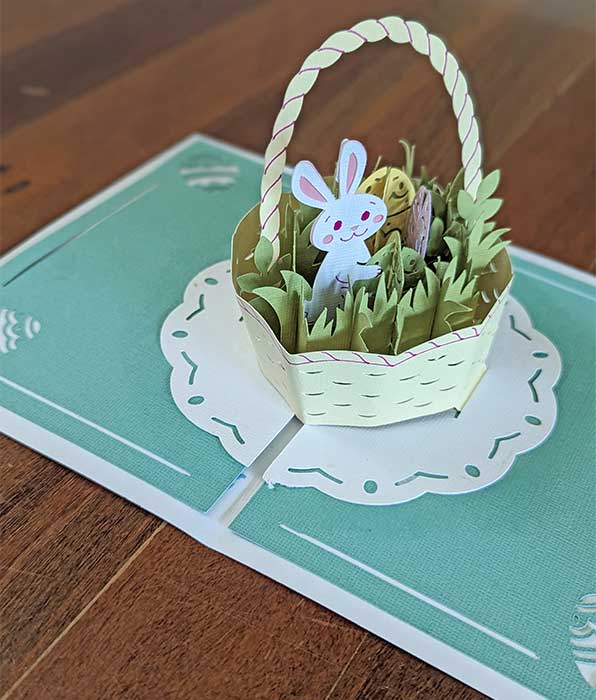
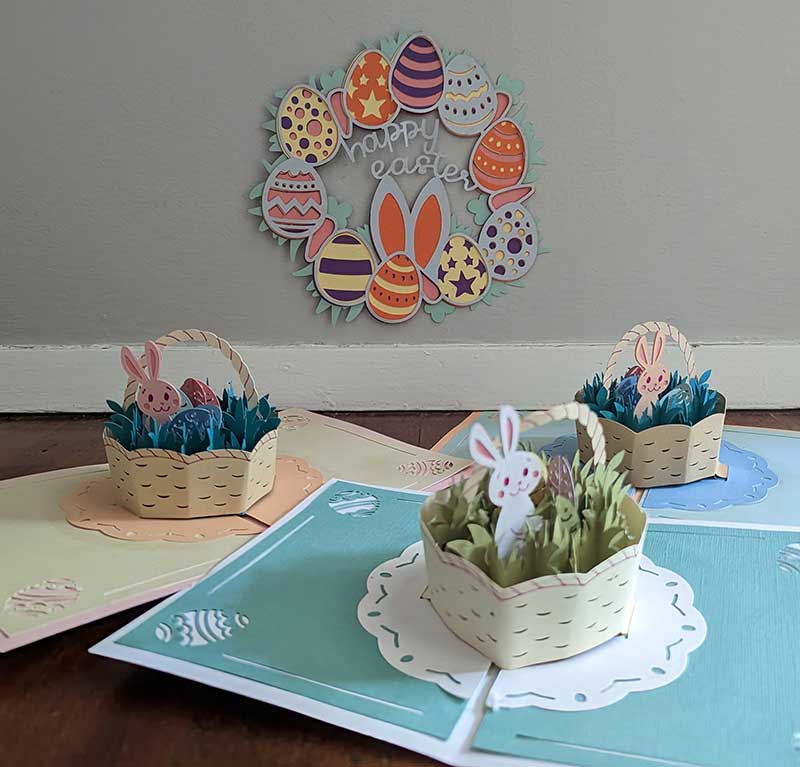
Hop to it! The Easter bunny is on his way, which means it’s time to dig into some fun Easter crafts. This DIY Easter pop-up card is the ideal way to say Happy Easter to family and friends – or even your child’s school teacher. All you need is your handy Cricut machine to do all the hard work for you.
Want to try something different (and tasty) instead? Check out these DIY Easter Egg Nests.
Materials
- Cricut machine: you will need a Cricut pen and scoring tool for this project.
- Cardboard (any colours you like!)
- Glue stick
DIY Easter Pop-up Card
You will find the SVG for this DIY Easter pop-up card in the Cricut Design Space. It’s under the ‘Easter’ category and is free with a Design Space subscription, or costs $2.99 without. Add the SVG to your workspace and get started!
Note: I didn’t have a scoring tool for this project – and that’s completely fine. I simply deleting all the scoring details from the project and started cutting. It was easy enough to fold the card and other little bits and pieces at the get of the project.
Get Cutting!
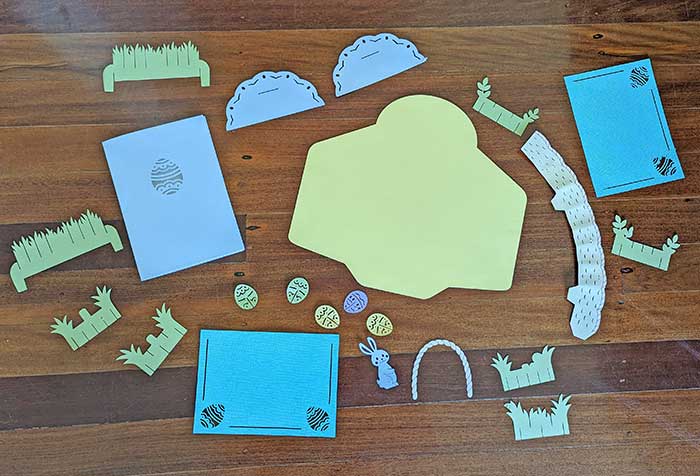
As you can see, there are quite a few pieces to get through in this pop-up card. The Easter eggs are the most fiddly bits, and if your cardboard isn’t stuck to your Cricut mat, then it’s not going to cut well. To help with this, I simply used the Cricut transfer tape tool to flatten the cardboard down before popping into the machine.
Handy hint: if you are finding the cuts aren’t working, take your blad out of the machine and roll up a ball of aluminum foil. Poke the blad into it about 10 times. This will clear any cardboard or other debris that has stuck to the blade and might be affecting the cut.
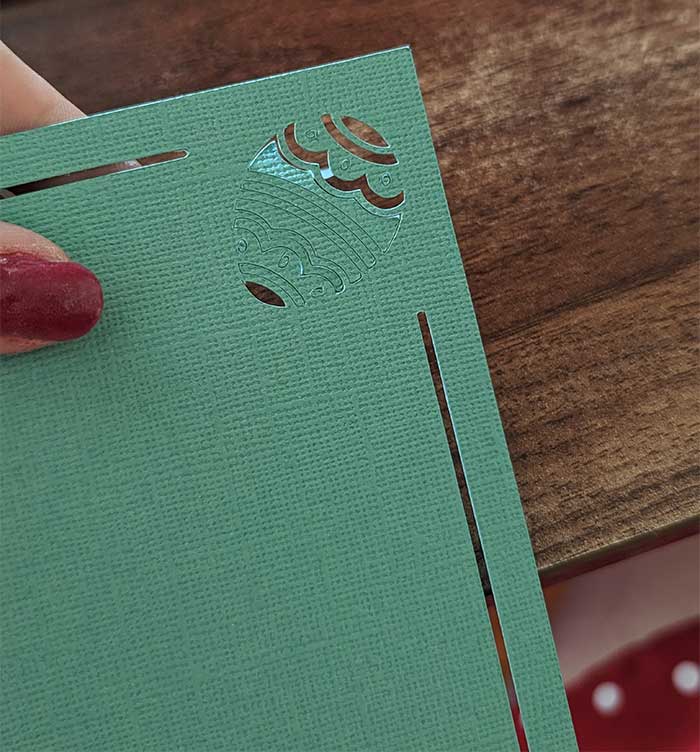
Many of the more fiddly bits will need weeding, like this Easter egg above. Take your time and be patient, so you don’t rip the cardboard.

This was also my first time using the pen tool in the Cricut machine! It was so easy to do and I played around with the colour. The project itself asks for black, but we went with purple instead. The results are great.
Gluing Time
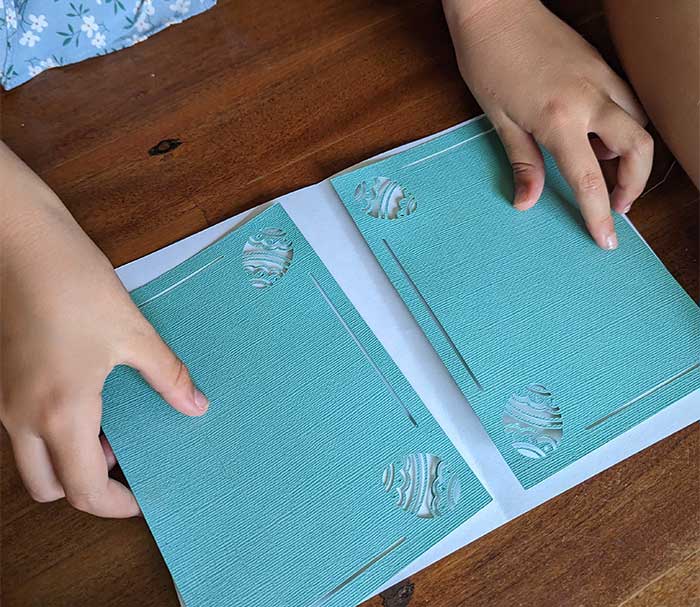
Now for the fun part: gluing everything together! It can seem a little daunting at first, which is why I chose to geta little extra help from YouTube. I am definitely a more visual person, so preferred doing it this way.
Cassie (7) helped out for this part, as she wanted to gift the card to her teacher. It was easy enough for her to follow along (with a little help) to get all the pieces in place.

We had so much fun doing this project, we went back and did two more playing around with different colours. The most time-consuming part of this project is the cutting time on the machine, but it’s well-worth the end result.
Looking for more Easter fun?
- Cricut DIY Easter Bunting
- Cricut DIY Easter Wreath
- DIY Easter Egg Nests
- Easter Brownie Patch
- DIY Easter Teacher’s Gift
Need help planning your next birthday party? Make sure you download our DIY party planning checklist and have a go!






1 thought on “Cricut DIY Easter Pop-up Cards”
Pingback: Cricut DIY Easter Wreath - DIY Party Central
Comments are closed.