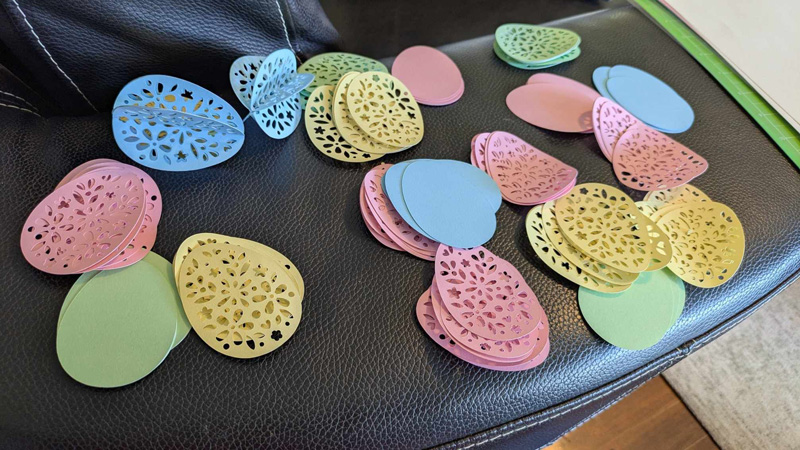
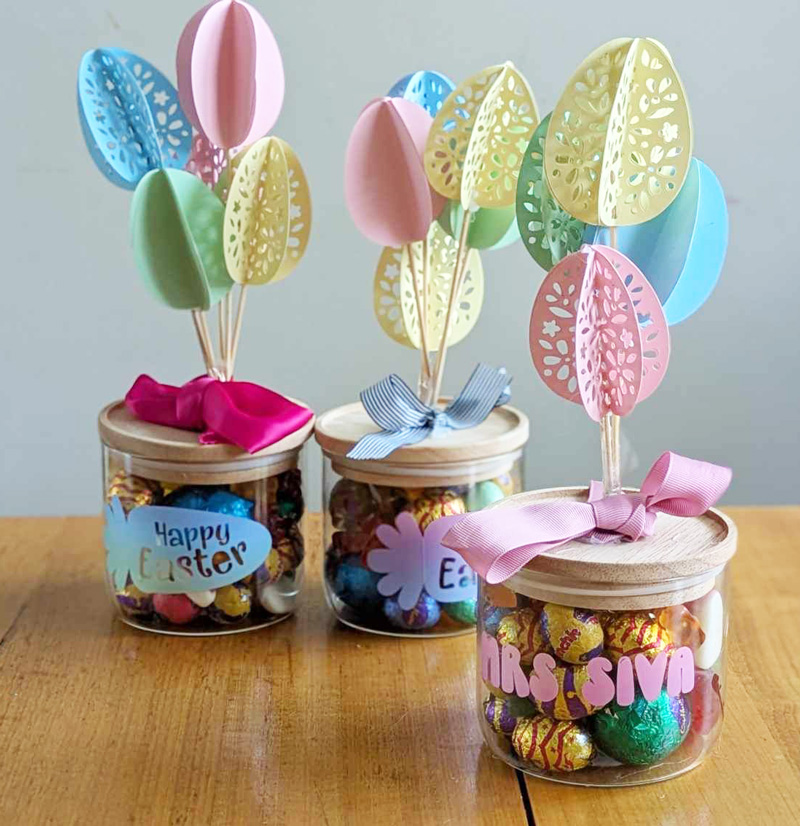
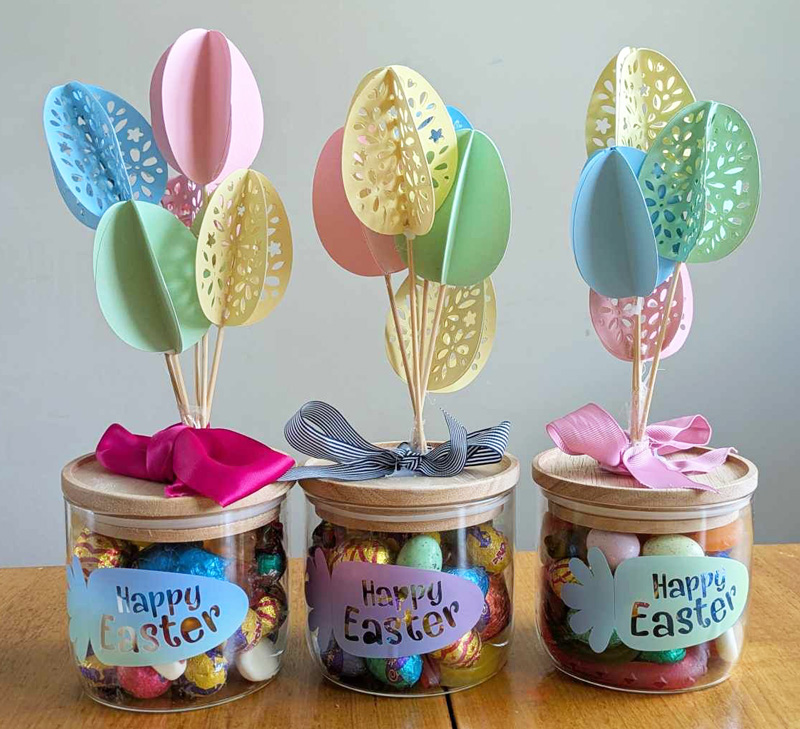
Materials Needed:


Planning a hen party? Whether you’re going big with a wild weekend away or keeping it low-key with a backyard
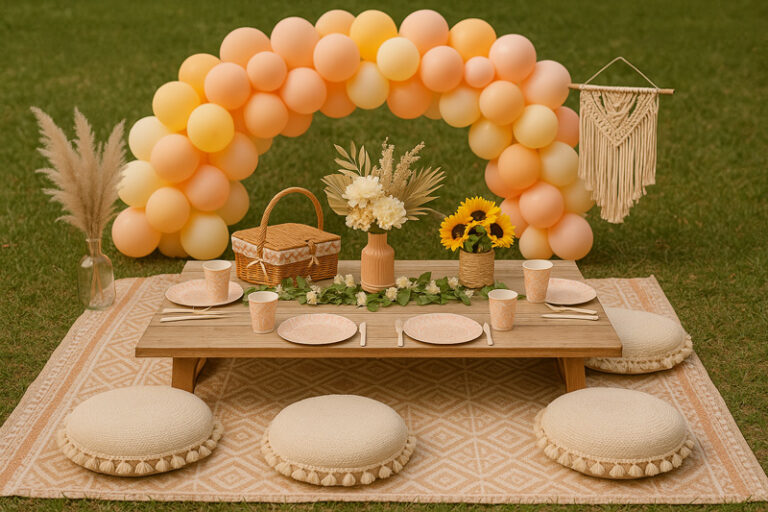
Looking to create a party setup that’s effortlessly stylish, Instagram-worthy, and surprisingly easy to pull together? A boho picnic setup
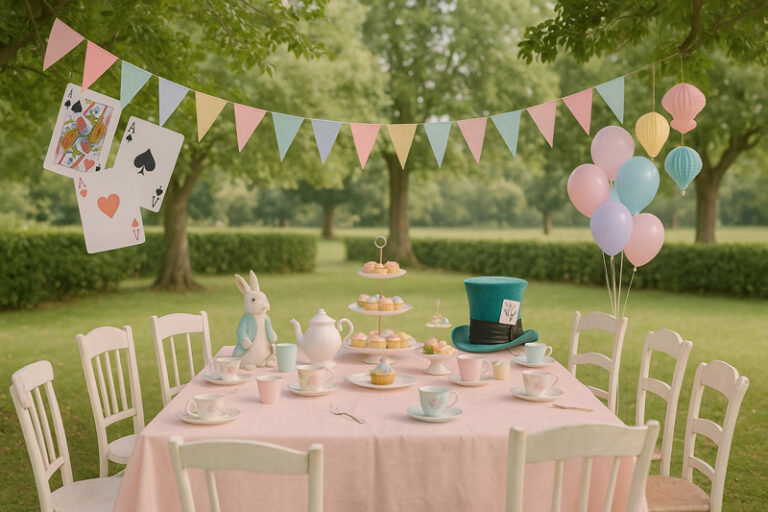
Planning an Alice in Wonderland party? Whether you’re celebrating a birthday, baby shower or just want an excuse to throw
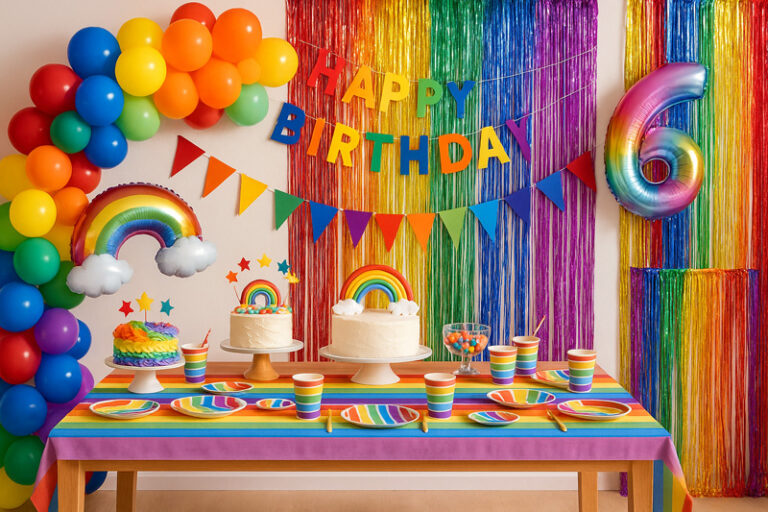
Throwing a party that pops with personality? Look no further than a rainbow theme! From vibrant balloons to dazzling backdrops,
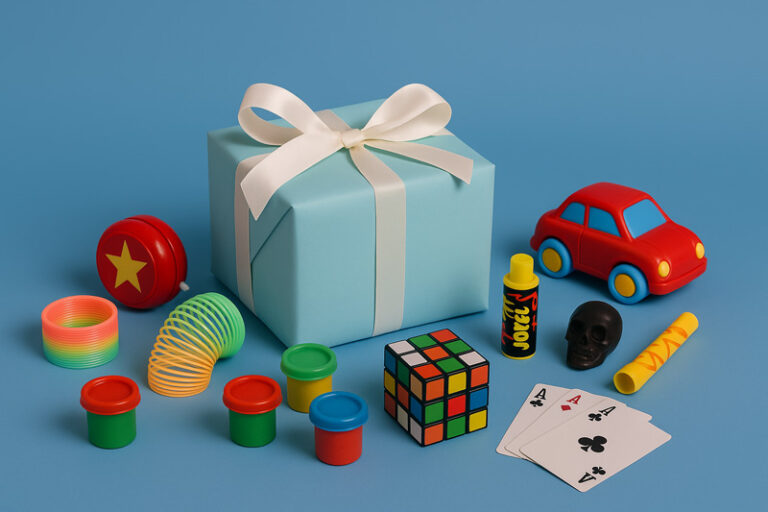
Pass the Parcel is one of those old, classic games that will always be enjoyed by kids. You can never
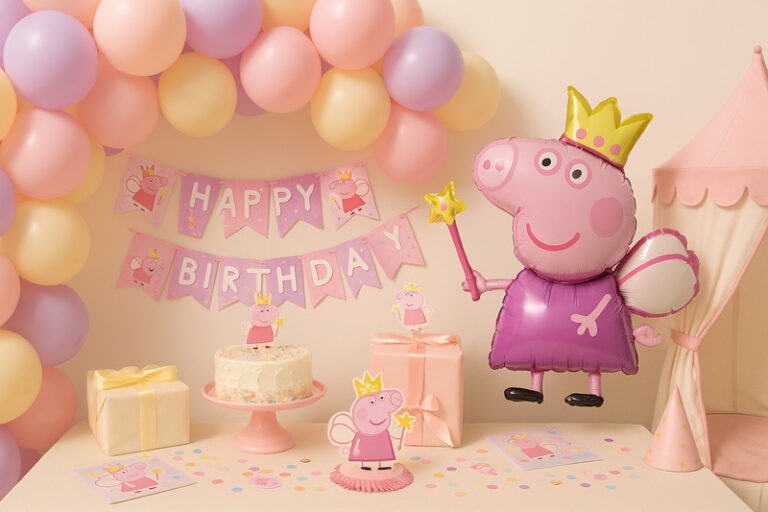
Is your little one obsessed with Peppa Pig and all things princess? Then a Peppa Pig Princess Party is the