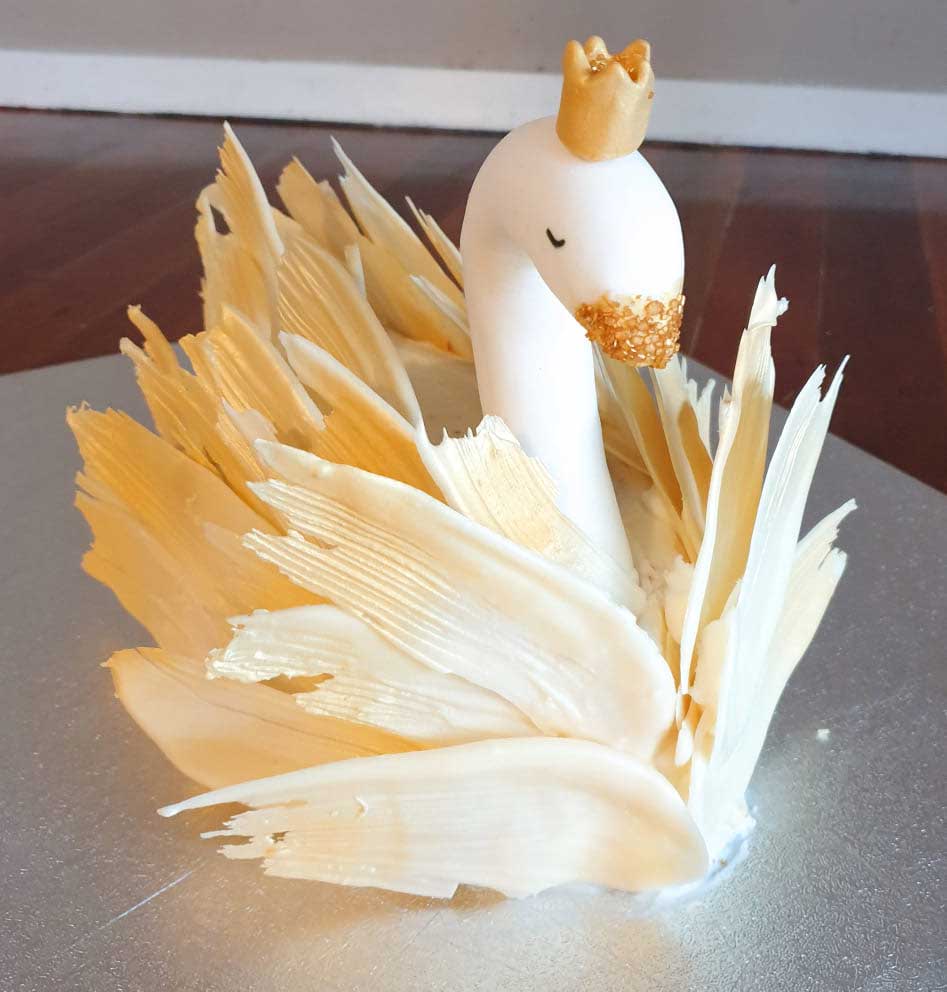
One of the things I love the most (and also dread at the same time) is making birthday cakes for my children. I didn’t always feel this way. When Cassie (now 6) was a baby I was more than happy to outsource! But as my confidence in cake making has grown (thank you parenting) and the reward of seeing their face light up is always there, I’ve loved taking on this challenge myself. This year, Cassie asked for a surprise cake, which meant I had free reign. Something that I have never had before! As soon as I saw this gorgeous DIY swan cake on Pinterest, I just knew I had to attempt it.
It turned out better than I ever could have imagined, and Cassie was delighted on her birthday. Here’s a run down of how I pulled this together.
Disclosure: This post contains an affiliate link, and at no additional cost to you, I’ll earn a small commission if you decide to purchase after clicking through the link. I’ll only ever recommend things that I love and believe will help you, and the decision to purchase is entirely yours!
Making Chocolate Feathers
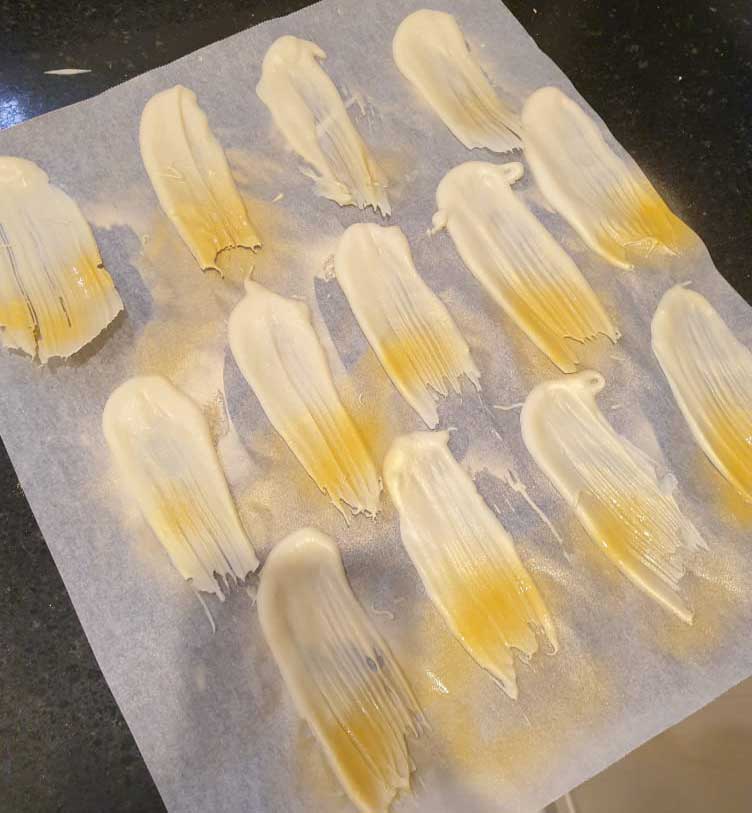
The great thing about these chocolate feathers is you can make them in advance. For me, this meant if they didn’t work out, I could go and try again! Turns out, they worked first time.
I used:
The trick is to temper the chocolate as you melt it. I used the Thermomix (this recipe to be exact) to achieve this, but you can also do it over the stove or in the microwave. What you want is to ensure the chocolate melts nice and slowly, as this keeps it in a nice and smooth consistency.
Once melted, simply stick a pastry brush into the mixture and brush onto baking paper. I found this video really helpful.
The chocolate dries quite quickly, so you want to work a little fast with it all. Once it was dry, I sprayed the ends with the edible gold.
Making The Swan
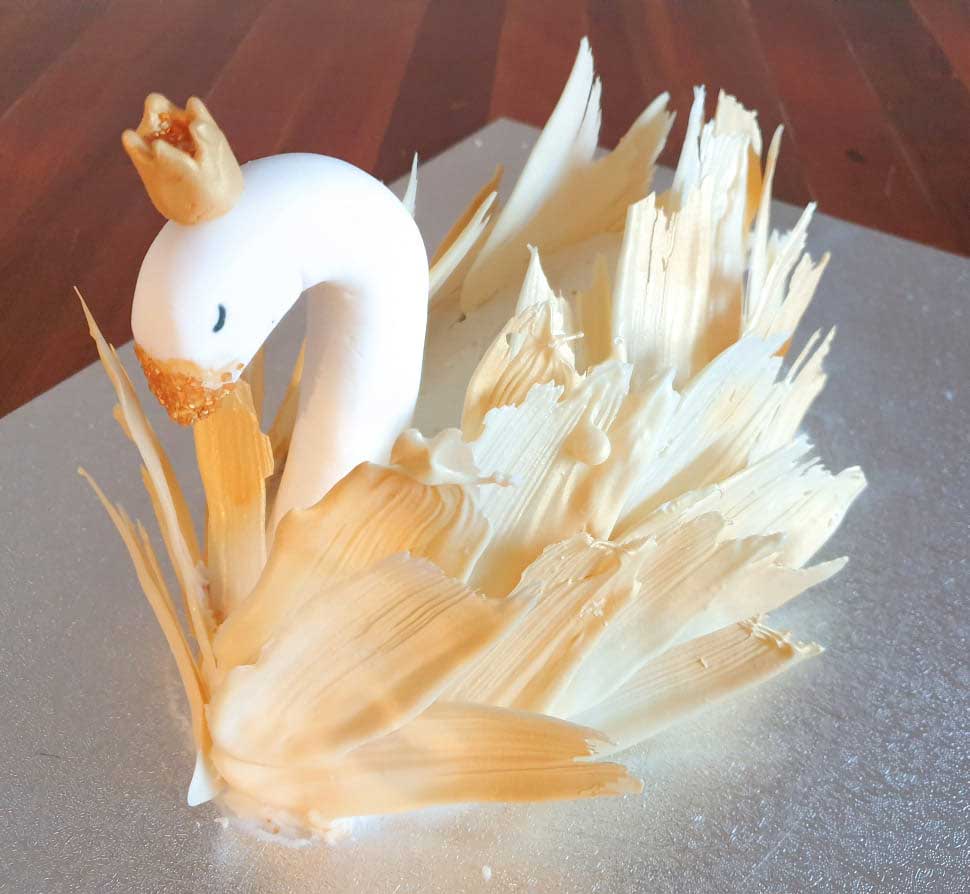
An essential part of any DIY swan cake is the swan neck! I used gum paste to make this, and simply rolled it into a log and the made it point at the tip.
I popped in a skewer to the bottom, as this is how I planned to stick it into the final cake.
The beak has been spray painted with the edible spray above, and then dipped into gold sprinkles. The eye was drawn on with a black edible texta.
Finally, I moulded the crown out of gum paste and stuck it on with a small skewer. It was also spray painted with glitter sprinkled on top!
I made this four days before the big day, so it had some time to dry.
Cake Baking
I’ll be the first to admit I cheated in this department. I just bought some packet mix cake! Cassie chose a mix with sprinkles inside, so I went with that. Baked the cake in a banana bread loaf tin (the deep rectangle tin) to get the shape I needed.
Once the cake was ready I left it to cool on the bench. I then popped it in the fridge overnight.
The next day, I pulled the cake out and cut it into shape.
Again, this was very easy. I just cut off all four corners. The best part is, doesn’t matter if you don’t get the exact shape, once it’s covered in feathers, no one will notice. That gave me all the confidence I needed.
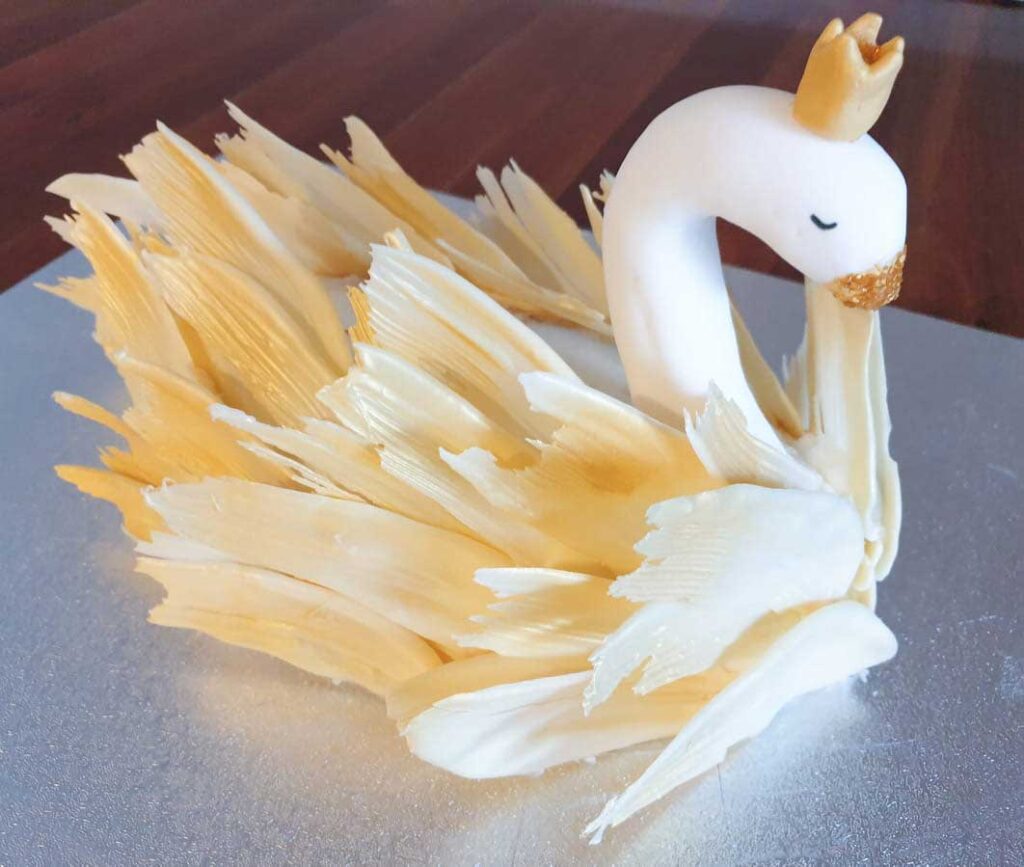
The cake was covered in white icing from Coles. And then I started sticking feathers! I adding another blob of white icing on the bottom of the featehrs to help them stick.
I started at the front and made my way back. The feathers of this DIY swan cake are very delicate, and we lost a few along the way. But, since I had made so many, it didn’t matter. The final touch was to stick the swan head on top!
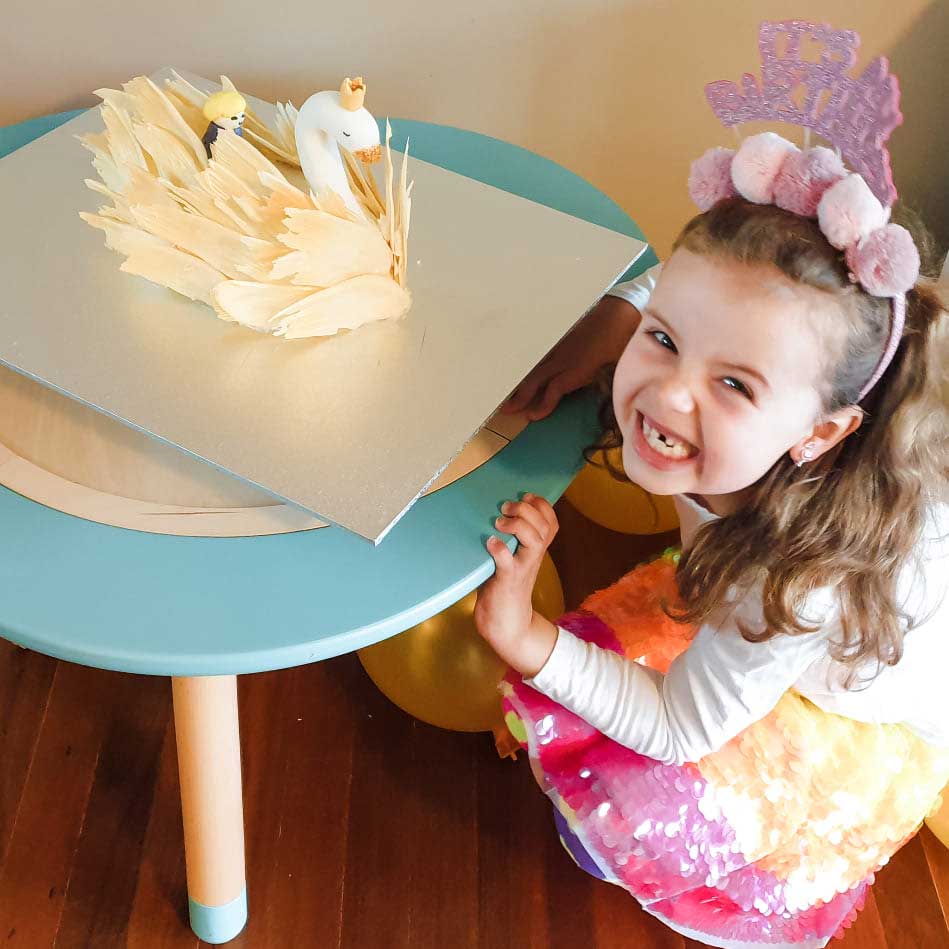
Safe to say I had a very happy birthday girl on the day, who just loved her DIY swan cake! Perfect for any girls’ party theme!
Need more tips when it comes to planning that next important occasion? Check out our DIY party planning checklist and get started today!

