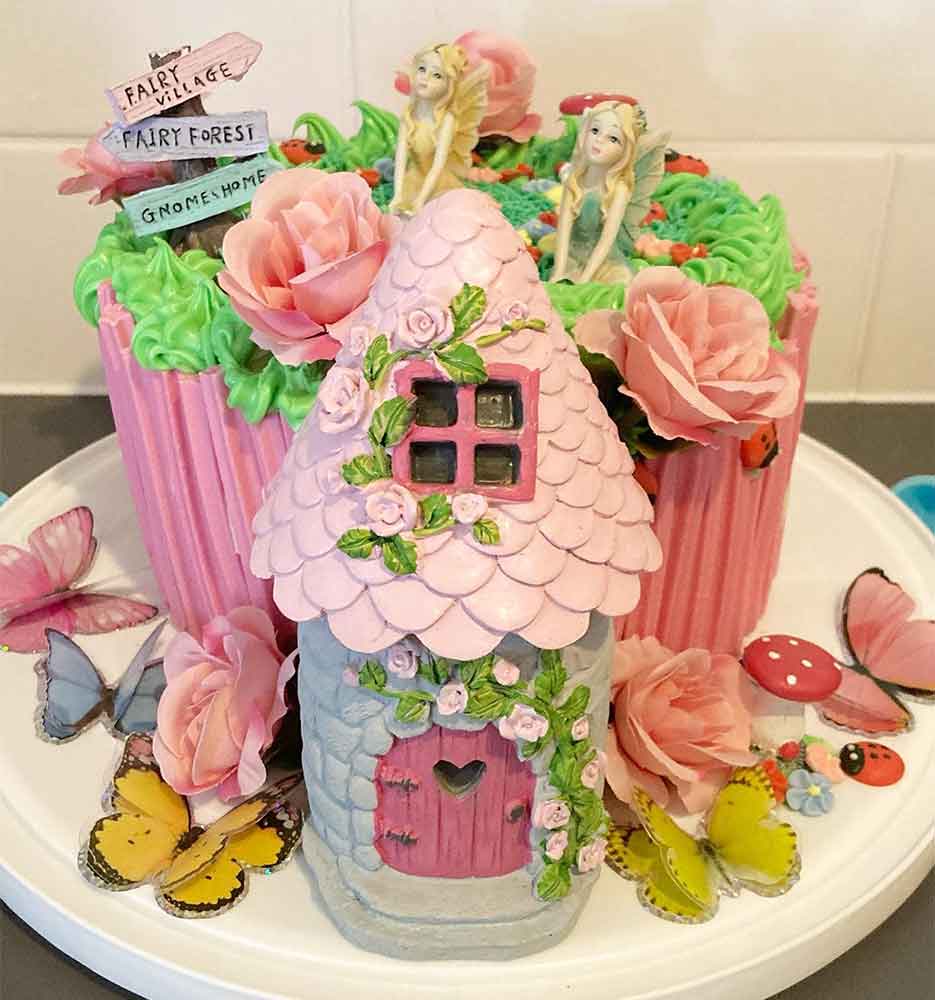
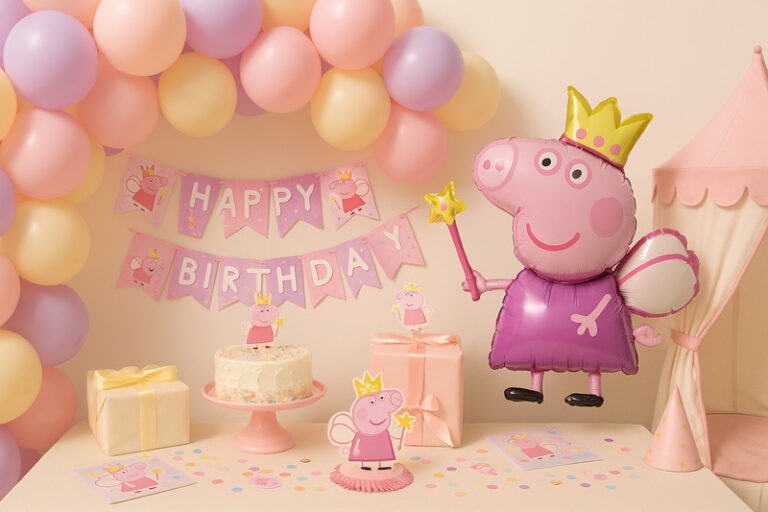
It’s a gorgeous theme that most little girls will adore. Whether you’re hosting a party, or simply celebrating the birthday child, this stunning Fairy Cake is bound to be a winner. Even better, it was made by mum Megan who in her own words says, “It is ridiculously basic (almost embarrassing )”. But just look at how amazing it is! Here’s how to create your very own.
Disclosure: This post contains an affiliate link, and at no additional cost to you, I’ll earn a small commission if you decide to purchase after clicking through the link. I’ll only ever recommend things that I love and believe will help you, and the decision to purchase is entirely yours!
Ingredients:
- 2 x Woolworths white choc mud cakes
- Betty Crocker icing
- Green food dye
- Musks
- Piping tools
Fairy Cake Method
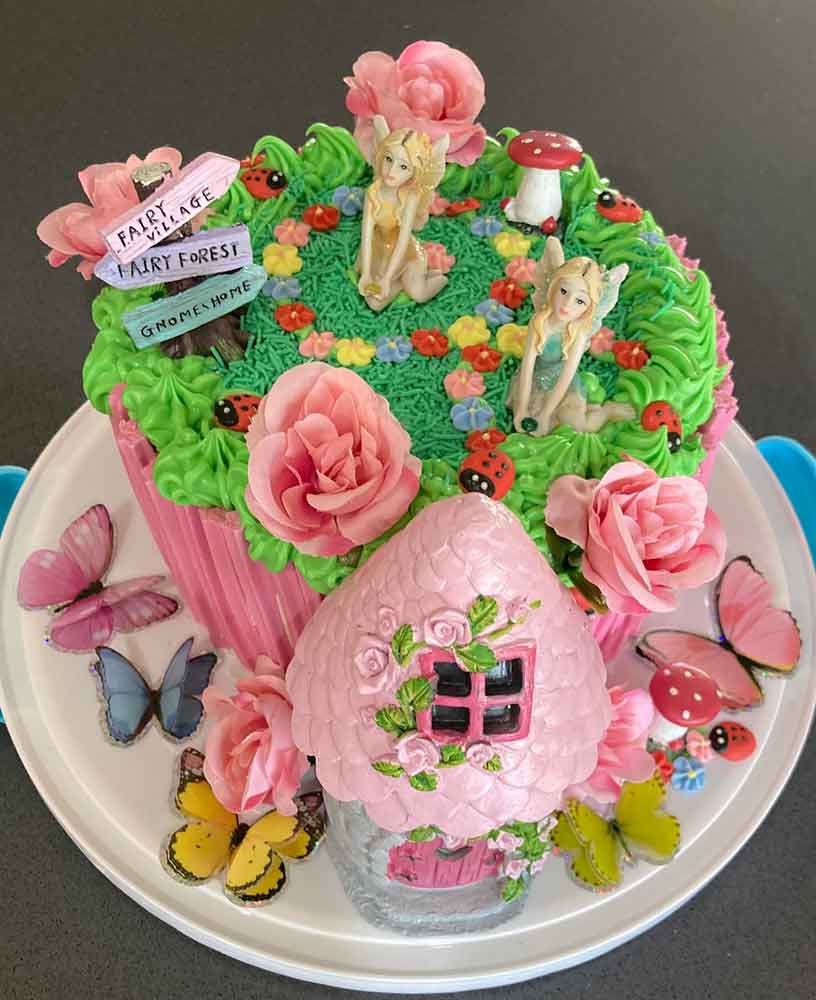
Now’s the fun part – throwing this cake together. The best thing: there’s absolutely no cooking involved. And not too much skill required either. Just a touch of patience and a dash of creativity. Have fun!
- Grab your cake board and cake the two cakes on top of each other in the middle with Betty Crocker icing between the layers.
- Cover entire cake in icing and leave to set.
- Add some green food colouring to the remaining icing. Pop it in a piping bag and pipe the green grass on top of your fairy cake. Here are some great grass piping tips.
- Place the musk sticks around the edge of the cake.
- Decorate! Pop your fairy house in front, then decorate the top and sides with fairies, signs, flowers, butterflies and more. Your imagination is your limit!
More Fairy Inspiration
Looking for more fairy inspiration? Check out these posts:
Need more tips when it comes to planning that next important occasion? Check out our DIY party planning checklist and get started today!
