I’ve had my eye on a DIY Cricut wreath for some time now, but never taken the plunge. Easter seemed like the perfect excuse to brighten up our home and bring a little festive cheer into it.
Disclosure: This post contains an affiliate link, and at no additional cost to you, I’ll earn a small commission if you decide to purchase after clicking through the link. I’ll only ever recommend things that I love and believe will help you, and the decision to purchase is entirely yours!
I found this DIY Easter wreath svg on Etsy. Go ahead, download the files and get started! It’s easier than you expect.
Setting up the project
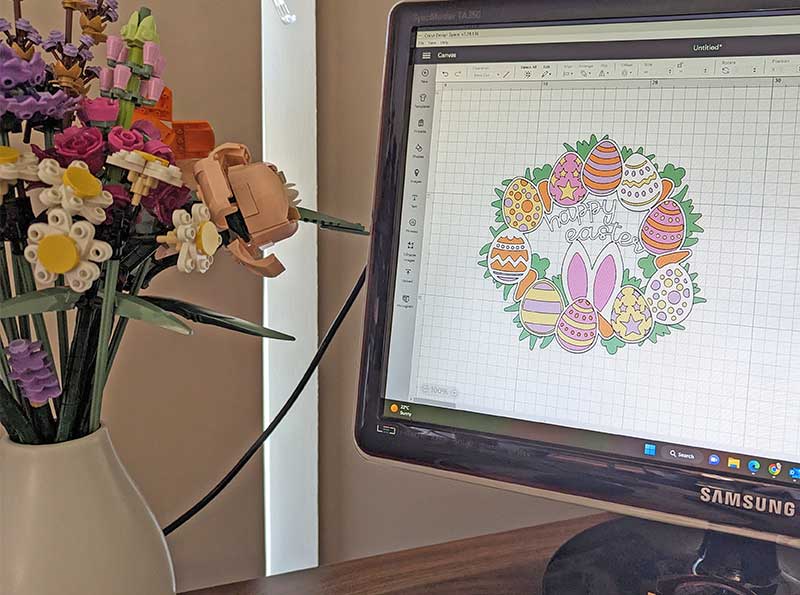
The first thing to note when it comes to any Cricut project is that the choice is entirely yours when it comes to colours. While most project come in their suggested colours, you can simply mix up what you use each cut to create something personal. All you need for this simple project is some cardboard. I used what I had on hand leftover from other projects and made it work.
Cutting the layers
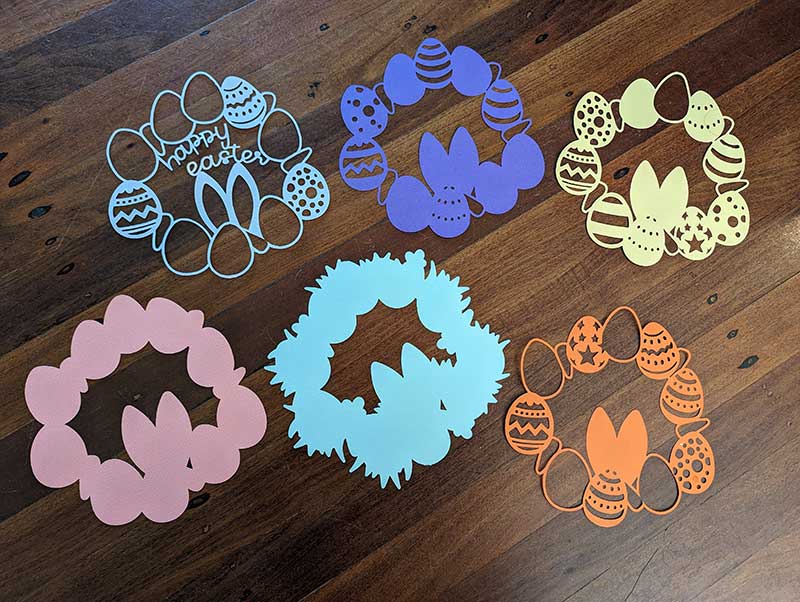
This is how it looks when all the layers have been cut. Cricut does the hard work for you on this one, however since there’s a few detailed eggs in the mix, there was a bit of weeding to be done. Just be patient and take it slowly so you don’t rip the cardboard in the process.
The most important thing before you get gluing is to make sure you have your layers in order. If you want the full effect of this fun DIY Easter wreath, you need to follow the same order. I lined my layers up an then got gluing – lining each one on top of the next.
End Results
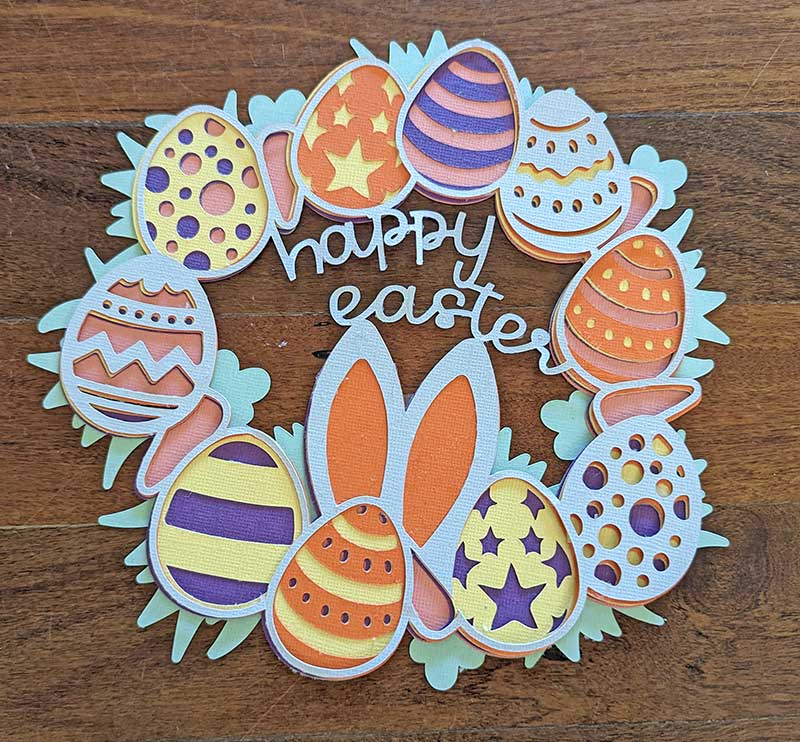
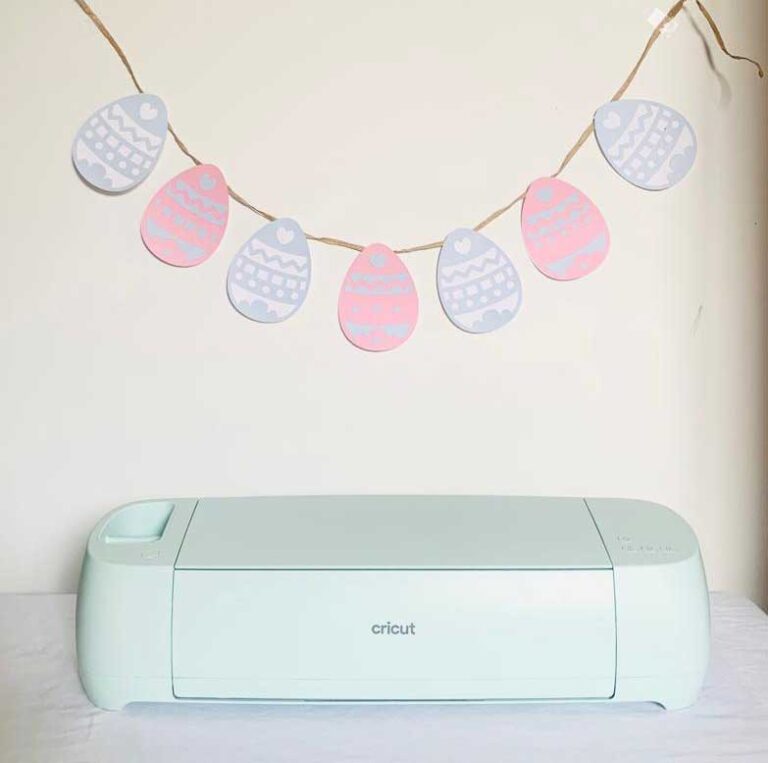
Quick, simple and ready to be hung!
If you want more of a challenge, scale this one up a little to create something a bit more wow-worthy for Easter day.
Looking for more Easter fun?
Need help planning your next birthday party? Make sure your download our DIY party planning checklist and have a go!









1 thought on “Cricut DIY Easter Wreath”
Pingback: Cricut DIY Easter Bunting - DIY Party Central
Comments are closed.