There’s nothing better than pulling together an amazing DIY antipasto platter to wow a crowd. The best part is, you have so much freedom when it comes to putting it together! Choose the things you like and the rest will flow. Here are some tips when it comes to putting together your very own DIY antipasto platter.
Tips to get you started
Not sure where to start your DIY antipasto platter? Here are a few things to keep in mind.
Use Baking Paper
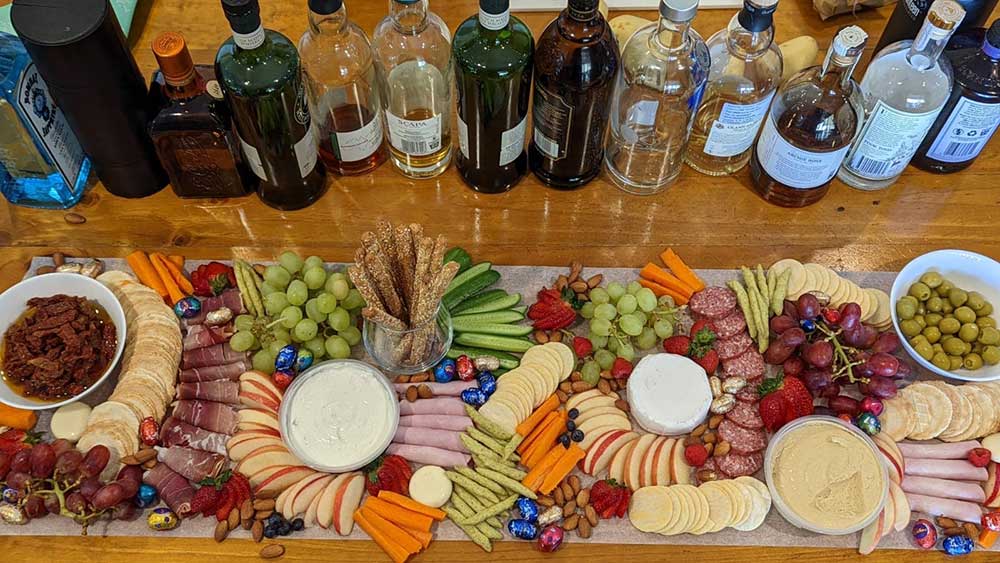
First things first, you need a handy DIY platter board to load all your goodies into. The number of guests you’re feeding will determine the length of the board.
Of course, most of us don’t have serving boards of every size just sitting in the cupboard waiting to go. This is where a nifty trick comes in: use baking paper.
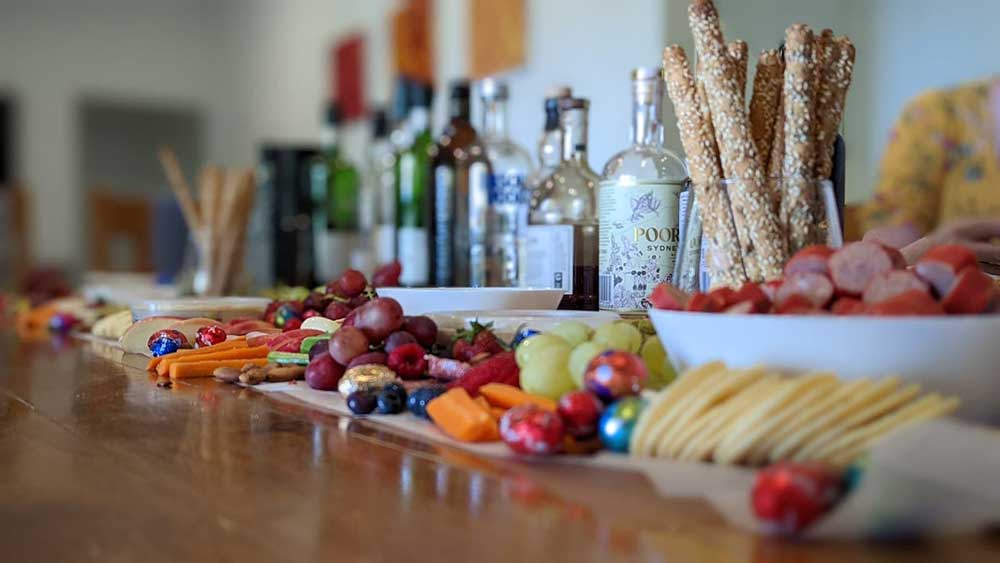
You read that right. Baking paper is one of the easiest ways to create a makeshift serving board. Pop it on the table, roll it however long you need and you’re good to go. Voila! Cheap, easy and it looks amazing too. Such a neat hack.
Check your Cupboard
The great thing about a DIY platter is that there are no rules! You can throw whatever you like onto it and you’re good to go.
It helps to rummage through those cupboards of yours first and see what you already have on hand.
Got some nuts hiding back there? Use them!
What about a jar of sun-dried tomatoes? Fabulous!
Crackers? Sorted!
We all know our cupboards are full of so many things that we never get to. Now’s your chance to give it a little clean out and see what’s waiting.
Pick your meats
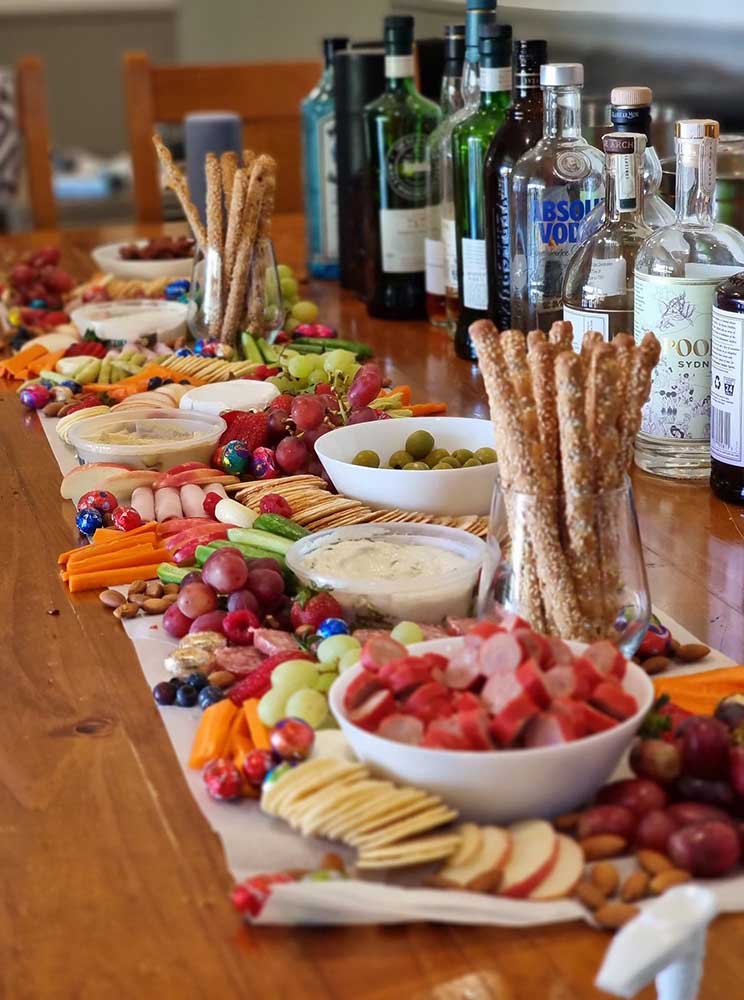
The hero of any antipasto platter has to be the meat. Shop these first! If you have a local butcher you can pop into, the better the quality, the tastier it will be.
It can be so tempting to buy everything pre-sliced, after all this will save you so much time. However, you will save so much more money buy doing this step yourself – it even tastes better!
Slice away
Not sure how to display something on your DIY antipasto platter? It’s all about the slice! If in doubt, do a quick google: “How to chop apple for platter”. You’ll be amazing at what comes up!
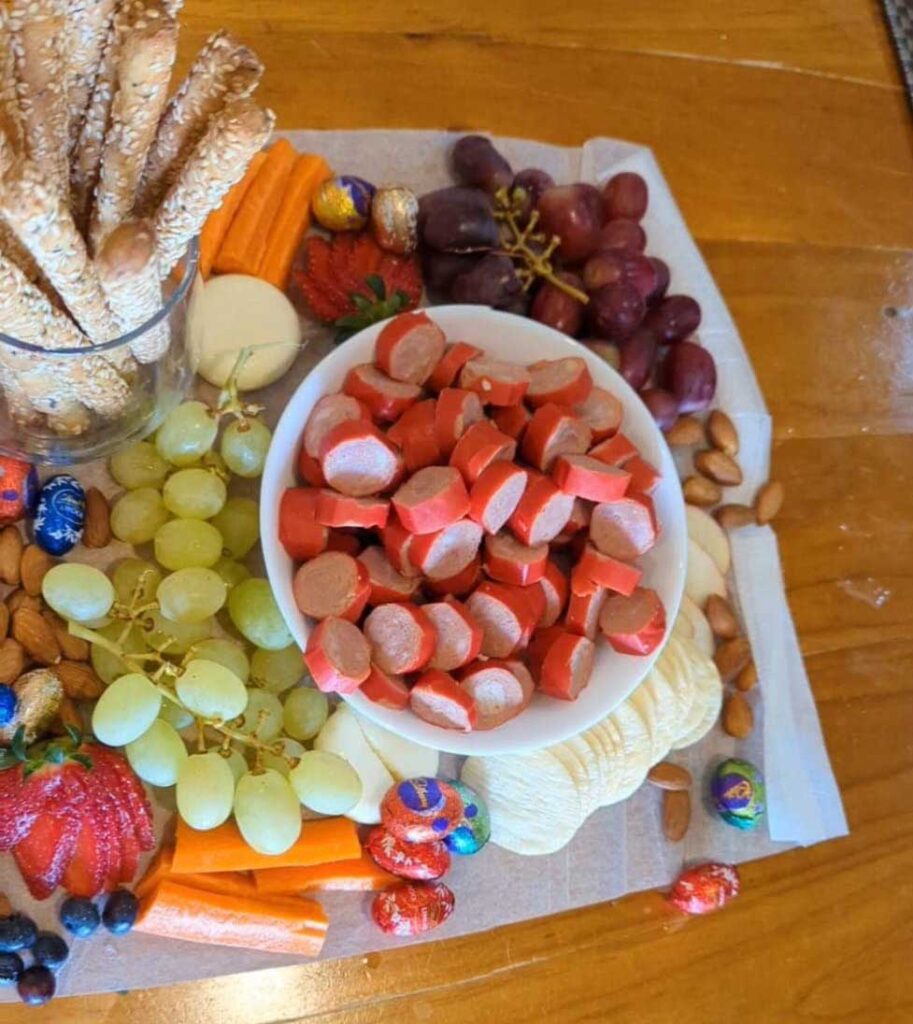
One of the best ways to slice is the fan. Grab a strawberry and slice multiple times lengthways all the way up to the green. Now fan out and place.
Mix it up
Bet strategic about where you place everything on your platter as well. It can be tempting to lump things in groups: dips down one end, meats up the other.
It actually works better if everything is mixed. Little bit here, little bit there, all down the board. It’s both visually pleasing, and also means guests can reach everything, no matter where they are sitting.
Want to really wow your guests? Why not create a cheese wheel cake to sit centre place at that next celebration.
DIY antipasto platter ideas
Looking for more inspiration?
- Pate
- Dips
- Crackers
- Salami
- Ham
- Prosciuttio
- Cabanosi
- Nuts
- Olives (and toothpicks)
- Sundried tomatoes
- Dried fruits
- Fresh fruits
- Chopped vegetables
End it Off
Platter ready to go? My favourite thing to do to end it off is sprinkle nuts down the length of the board. It brings everything together and looks fantastic!
Make sure you have all the knives you need out for any cheeses or meats and voila: you’re amazing platter is ready.
Need more tips when it comes to planning that next important occasion? Check out our DIY party planning checklist and get started today!


