Baby Bottom Cake Ingredients
- Cake! Naturally, you need the cake base. Grab a cake board and get baking. I used a simple lemon cake recipe, but you can choose whatever you like. Bake in a standard 20cm cake tin. I made two cakes and layered to get the height for this particular look.
- Foam dome (for the baby bottom). Shop here>>>
- White fondant. Shop here>>>
- Skin-colour fondant. Shop here>>>
- Blue fondant. Shop here>>>
- Buttercream icing (any recipe!)
- Cake scraper. Shop here>>>
- Blue sprinkles. Shop here>>>
- Textured fondant cutter. Shop here>>>
Method:
- Bake the cake. If you don’t have a lot of time before the big day, you can bake and freeze ahead of time. This helps alleviate a lot of that last-minute stress that comes with preparing a cake. Remember: if you want the height for this cake, it’s best to double the recipe.
- Make the buttercream. You want to do this when you’re ready to ice the cake, so make sure it’s defrosted (if frozen) and ready in time!
- Grab your cake board and start with the bottom layer. Add a think layer of buttercream in the middle and top with the second cake. Top upside down, so the top of the cake is now completely flat. Fill in any gaps created with buttercream.
- Cover the entire stacked cake in buttercream and pop in fridge for an hour to set.
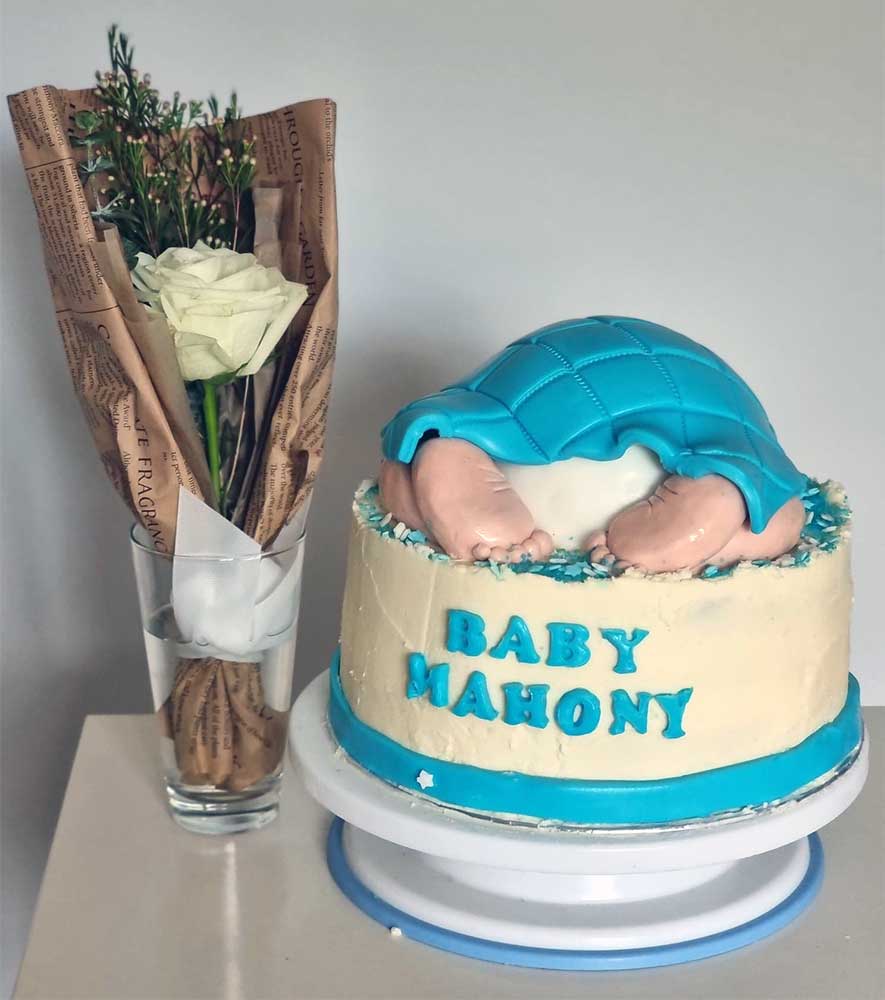
Making the Baby Bottom
5. While setting, grab your dome ready to make the baby’s bottom! Cover it with a thin layer of buttercream, and pop some white fondant on top.
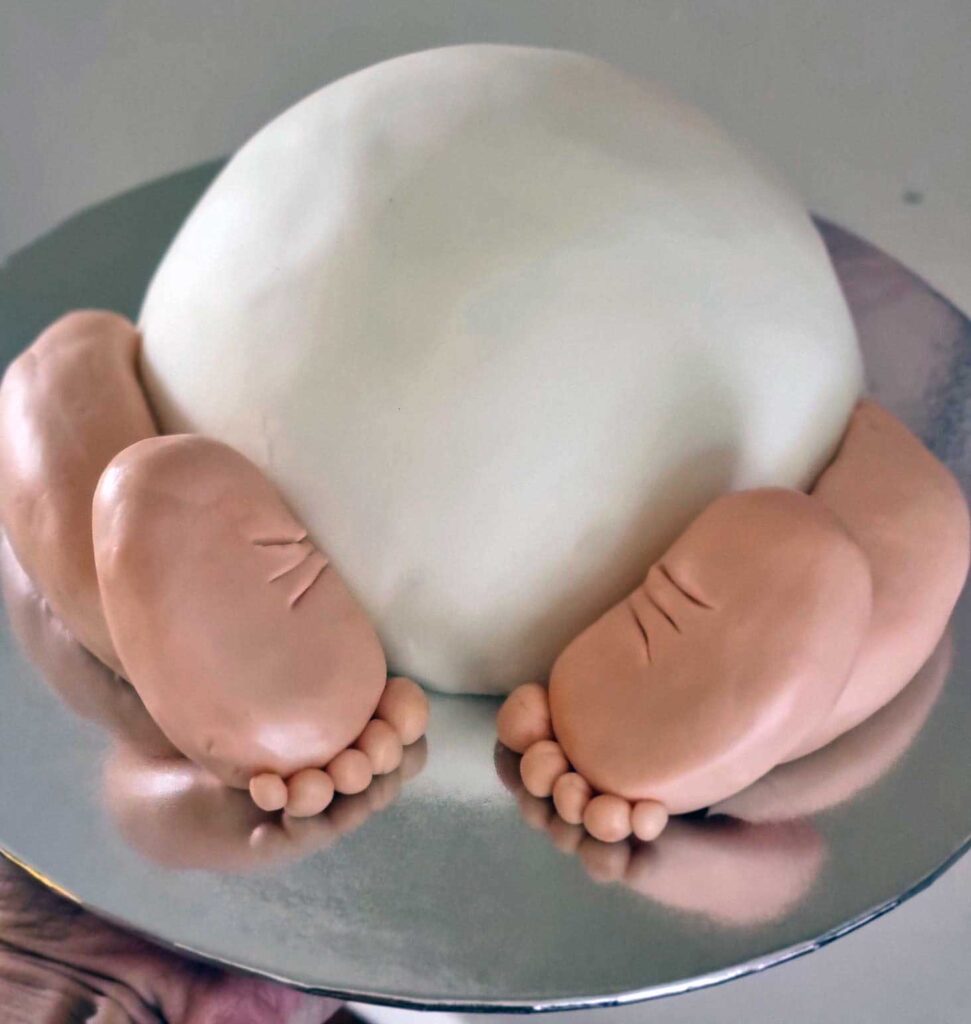
6. Next, work with the skin colour fondant to create two legs either side. Roll fondant into logs and then press against the baby bottom on either side to give it shape.
7. To make the feet, roll the fondant into two even balls. Flatten then out (one at a time) in your hand and mould into the correct foot shape – small at top (heel) and wider at the bottom (toes), with a small arch on the inside. Now, grab your knife and score three lines along this arch to create those adorable little foot rolls for this baby bottom cake.
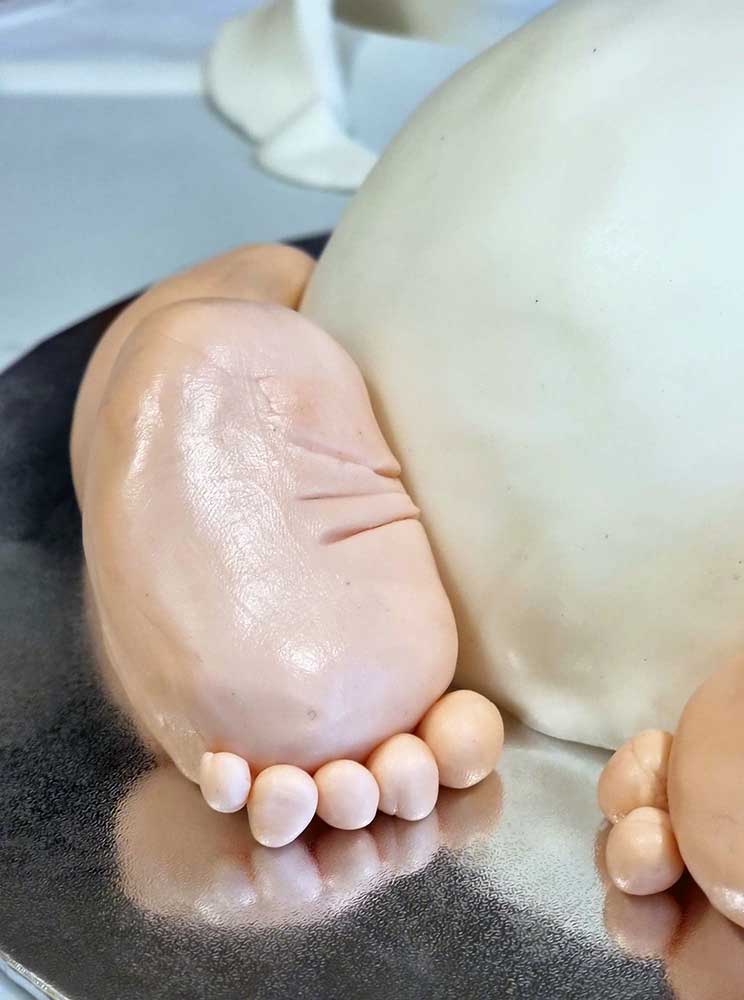
8. Final step for the feet: toes! Rolle out five tiny balls for each foot, getting smaller with each one, right down to the baby toes.
DECORATING THE BABY BOTTOM CAKE
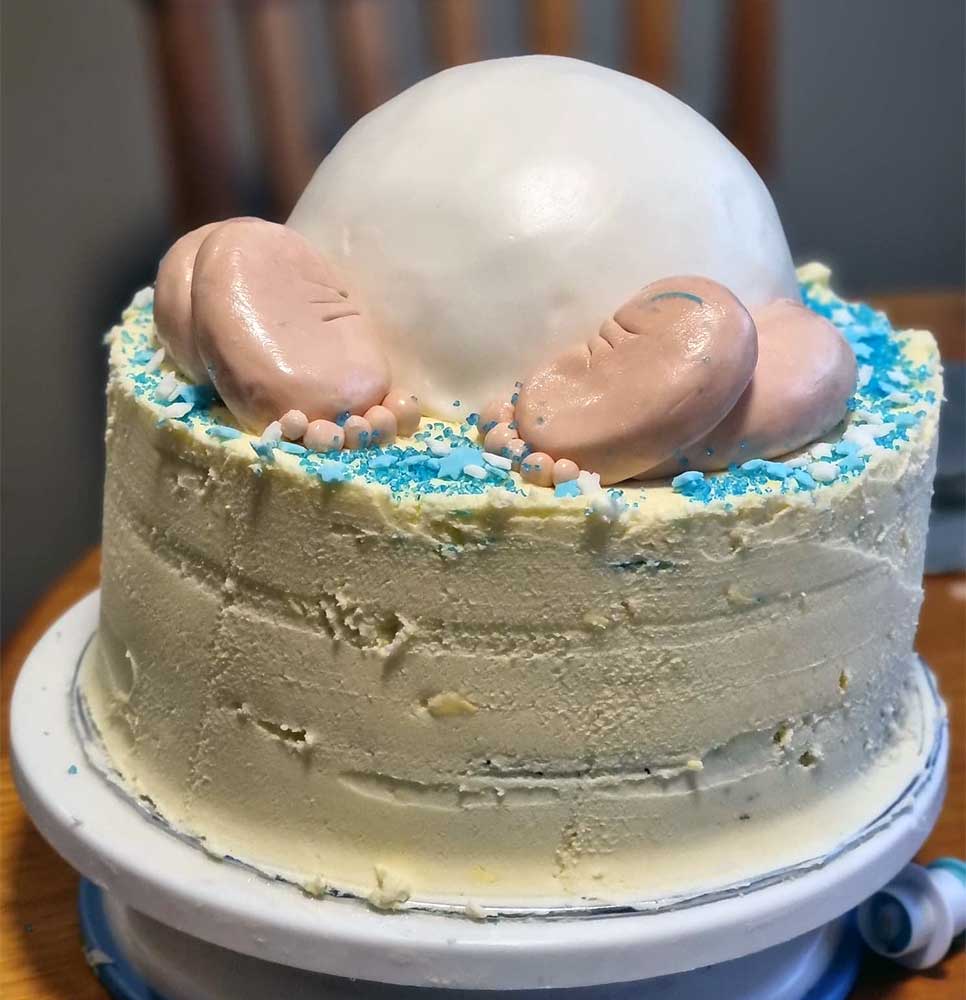
Grab your cake out of the fridge and cover with another thick, layer of fondant. Use your cake smooth to smooth out the top and sides until you are happy with it.
Now, it’s time to top with the baby bottom! Use a spatula to move your premade baby bottom and feet from your benchtop (or wherever you worked on it) to your cake. Don’t worry if you lose a bit along the way, it’s so easy to piece back together at this stage.
Pour some sprinkles around the top of the cake.
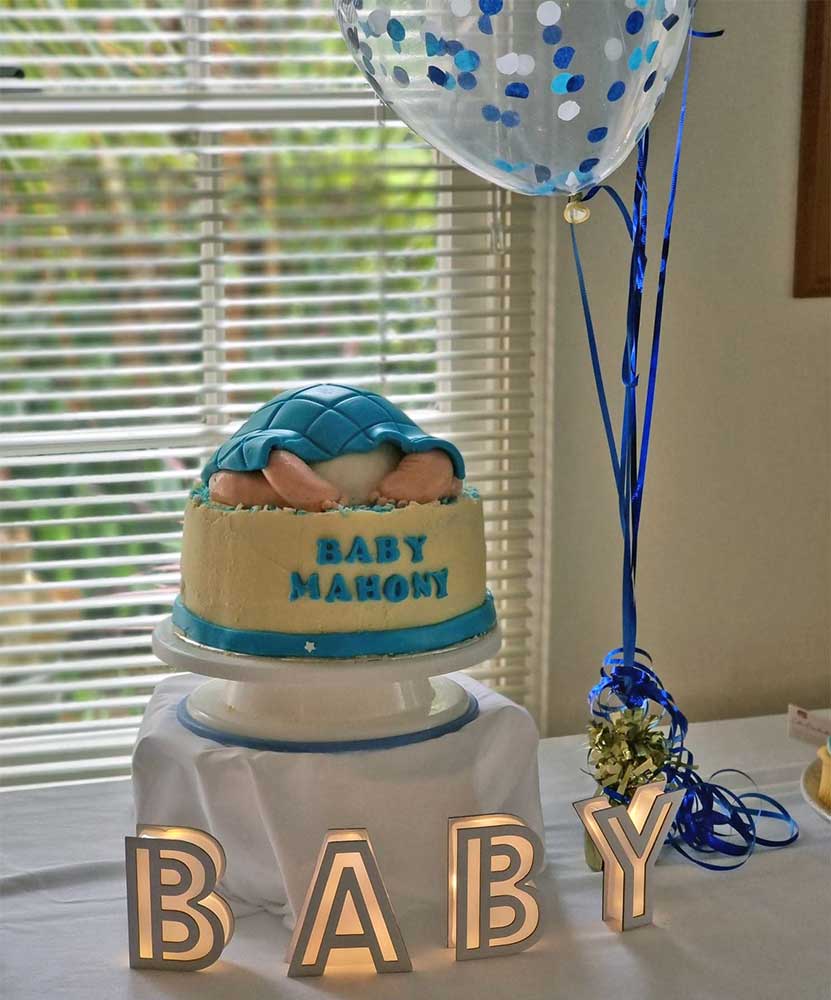
Baby Blanket
Time to create the baby blanket to go on top.
Roll out the blue fondant into a rectangle shape and use this textured fondant cutter to create a blanket look.
Lay on top of the baby bottom and you’re ready to go!
Added Extras
Need more tips when it comes to planning that next important occasion? Check out our DIY party planning checklist and get started today!