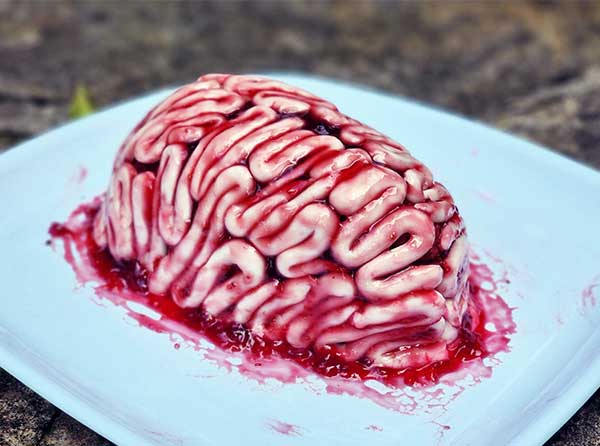
Whether you’re getting Halloween ready, or your simply a fan of the gory, this cake can be made to delight and disgust no matter the time of year. It’s so easy to put together, and actually tastes quite delicious…if you dare! Here’s everything you need to know about pulling together this DIY brain cake. Zombies anyone?
Brain Cake Ingredients
Before you get started, make sure you have everything on hand:
- Cake mix: you can either use packet mix you will need two) or make your own from scratch using your favourite recipe).
- 250g icing sugar
- 3 tbs milk
- Red food dye
- Loaf tin
- Strawberry jam
- White fondant
Cooking the brain cake
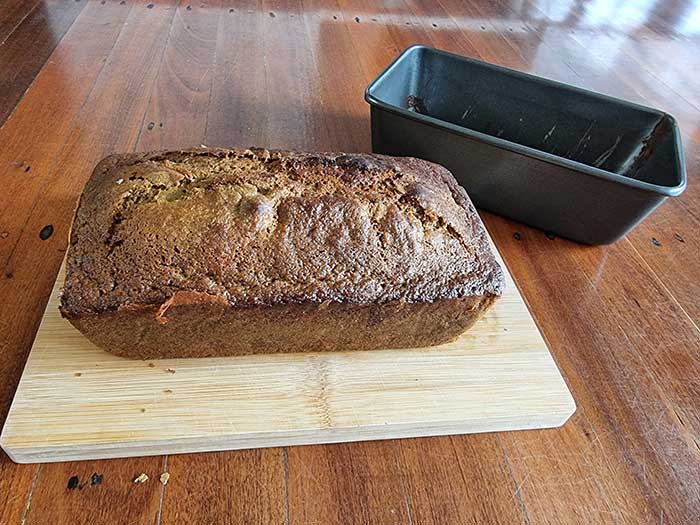
Start with the baking! I used two Coles packet mixes for this one, but you can also go with your own recipe. It helps to add a few drops of red food dye to the mixture, just to keep the brain effect going once the cake is cute into. Pour your mixture into your prepared loaf tin and cook according to packet, or recipe, directions.
Cutting the brain cake
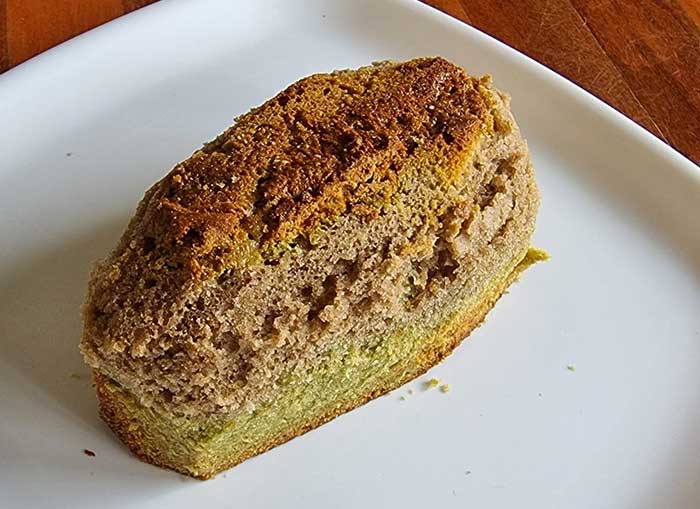
Cutting the cake is often the scariest part of any creation! Luckily with this brain cake, it’s super easy and you don;t have to be too exact. Remember, you’ll be covering it with fondant, PLUS brains are meant to look nice and messy!
I aimed for cutting an oblong shape and simply rounded off the edges. As soon as I got a shap I was happy with, I left it.
Tip: make sure the cake is completely cool before cutting. Pop it in the fridge to chill, as this will make your job even easier.
Icing Time!
Making the icing is easy: mix together icing sugar, 2 tbs milk and 1 tsp red food dye. You can then add more milk or icing suagr to get the perfect consistency that works for you!
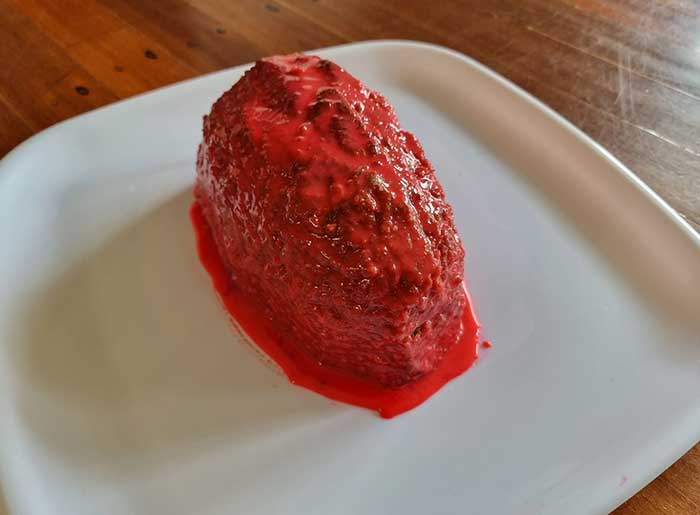
Again, you don’t have to be too exact with this process. I simply chose a plastic plate as my cake board and got decorating, allowing it to drip off the side. After all, it just adds to the effect.
Adding the Fondant
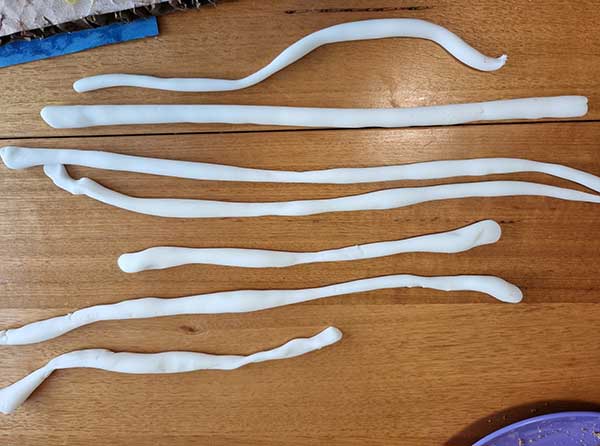
Next step is to start rolling out the fondant. I actually got the kids (3, 5 & 7) to help with this bit, and they loved it! Brains are meant to be messy, so they didn’t have to be the same length and thickness. This made it nice and easy to get the kids involved and they had so much fun.
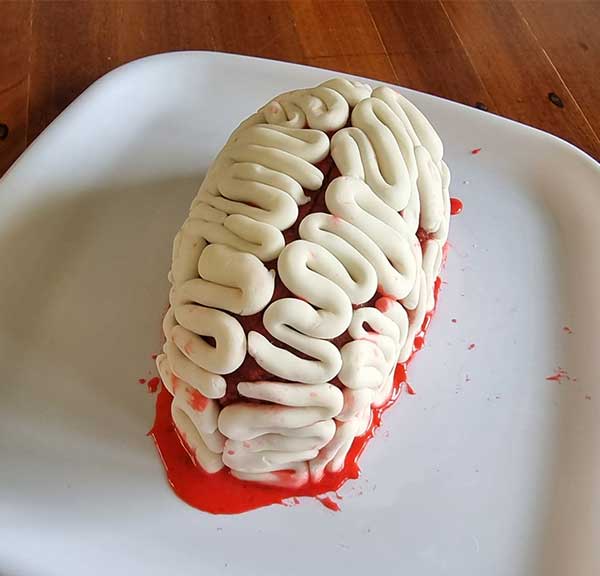
Popping the fondant onto the brain cake is lots offun! You simply ant to bend and swirl it in whatever direction. Then grab the next piece, find a gap and start again.
I drew a lone down the middle of the cake with a knife and did one side at at time to creat the two sides of the brain.
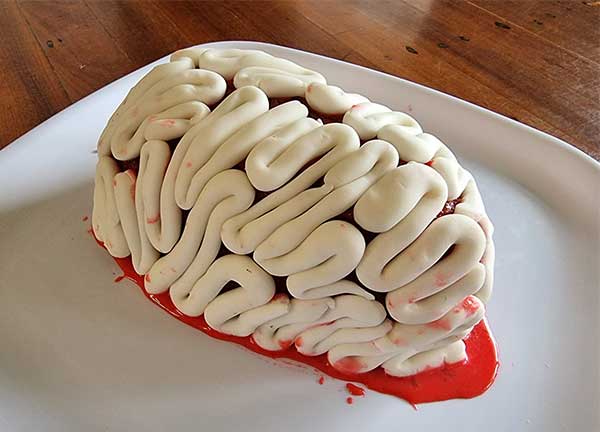
It’s all just a mix of random swirls and placements. If you don’t like how it looks, change it. Doesn’t matter how messy you get, since you’re about to cover the whole thing anyway!
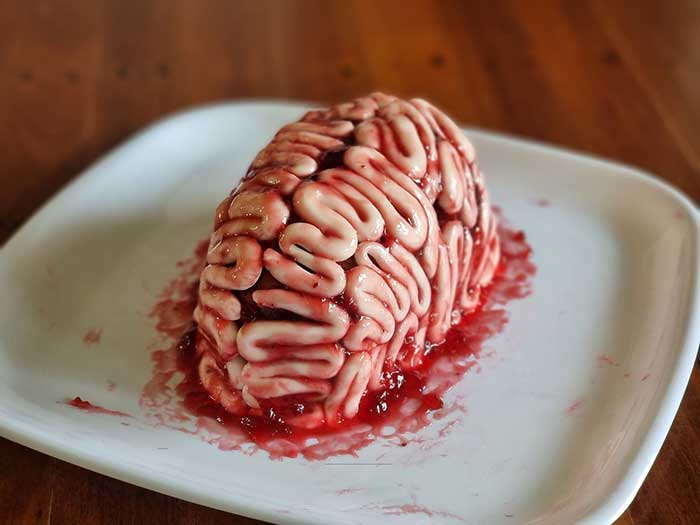
The final step is to cover the brain cake with jam. Looks disgustingly gross!
Eating the brain cake
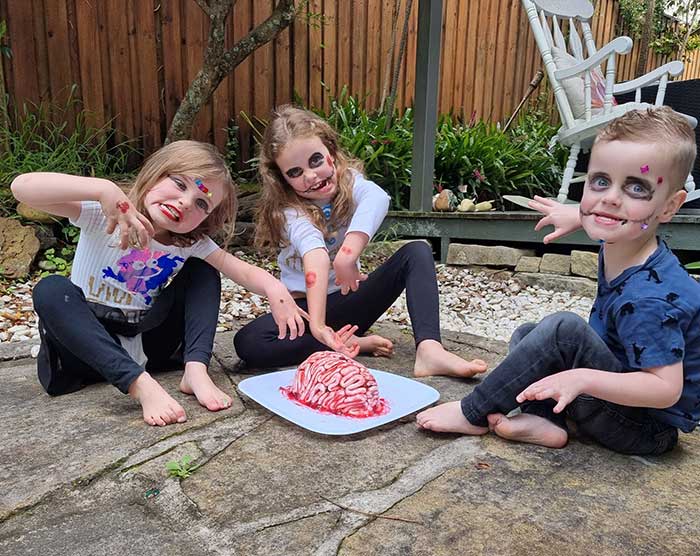
We naturally got dressed up as zombies to have a little fun eating this brain cake!
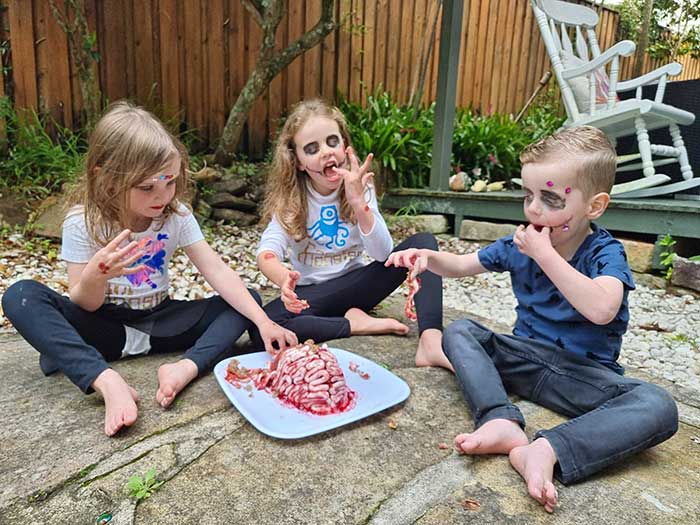
Digging in and having some delicious zombie fun!
Need more tips when it comes to planning that next important occasion? Check out our DIY party planning checklist and get started today!

