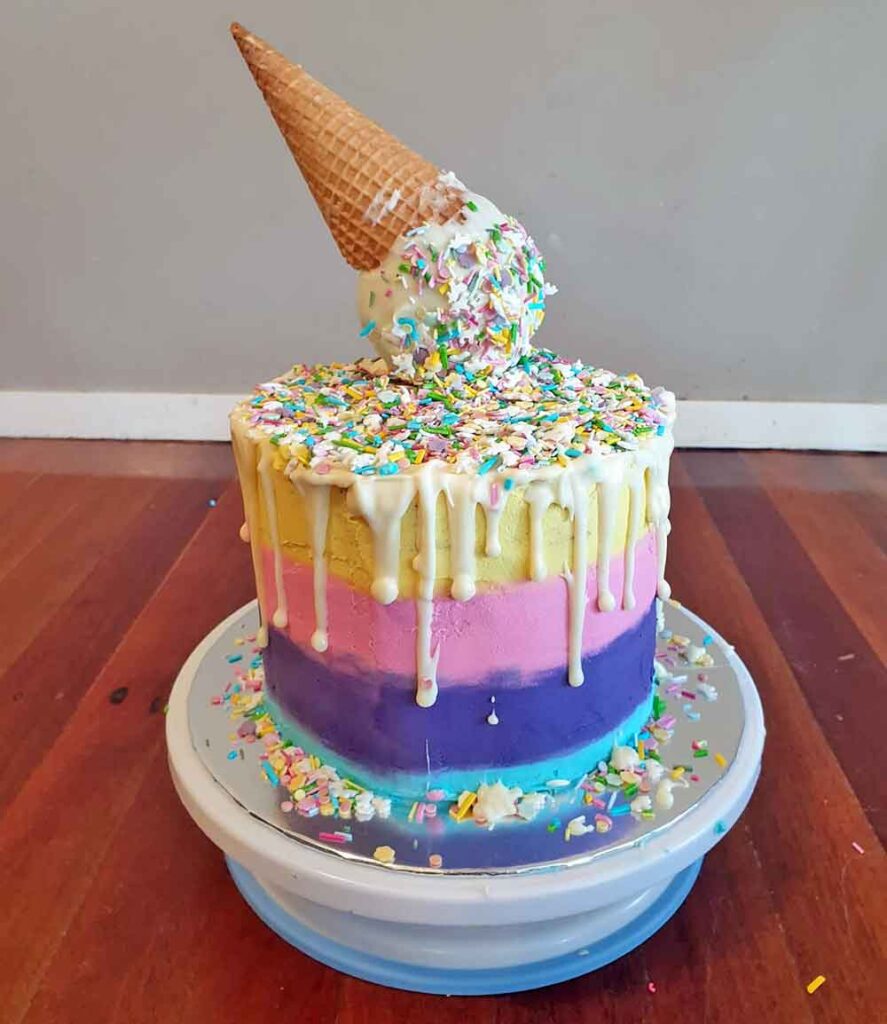
If you have a little one with a HUGE sweet tooth, then it’s hard to look past this incredible upside down ice-cream cake. After all, it features two of the best desserts out there: ice-cream and cake! It doesn’t matter what theme the party is, all you need to do is mix up the buttercream colours to make a cake that will pop on that party table. Here’s how easy it is to pull together this fantastic cake…with no baking!
Disclosure: I’d like to reiterate that there are a few affiliate links that I am going to be using in this article. That being said, I would never recommend something that I do not personally like and endorse to you guys. There is a small amount of the commission that I am going to get if you click on these affiliate links but that would never cloud my judgement.
Ingredients
- 3 x Coles mudcakes (any flavour you choose).
- Buttercream icing: you can make your own, or buy some from your local supermarket.
- Ice-cream wafer cone
- Food dye: to colour your buttercream
- Piping bags
- Piping nozzle
- Cake scraper
- Cake turntable
- 400g white chocolate
- Sprinkles to decorate
- Cake board
Upside Down Ice-cream Cake: Method
- Start off by cutting the icing off your Cole mudcakes and layering three mudcakes on top of each other with some buttercream in between. Place the cakes on top of your cake board.
- Now for the crumb coat! This is to help you get a nice, even shape for your cake. Using plain buttercream (no colour needed yet), use a knife to spread all over the cake, creating on consistent shape. Pop in the fridge to set.
- While it’s setting, divide buttercream (leaving a little out for the ice-cream) into four different bowls. Add a different colour food dye in each bowl and mix in.
- Pop each buttercream colour into its own piping bag with nozzle in place. If you don’t have more than one nozzle, do this one colour at a time and wash in-between.
- Get the cake out of the fridge and place on the turntable.
- Pipe each colour one at a time around the cake. Leave as few gaps as possible.
- Now, grab your cake scraper andslowly spin the turntable, gently scraping the buttercream as you could and moulding it into one. Repeat as many times as you like to get the desired look. If there are gaps, simply pipe more colour into the space and go again. Pop back in fridge to set.
- Melt 200g white chocolate in a water bath on the saucepan. Pour into piping bag. Slowly pipe around the edge to create a chocolate drip. Spoon some of the chocolate into the top middle of the cake and spread across.
- Leave to set.
Making the Ice-cream
Now for the fun part, the ice cream!
- Grab that leftover Cole mudcake and crumble into a bowl. Mix in some remaining buttercream icing and form into a ball in your hands. It’s up to you how big you want that ball to be!
- Melt the remaining 200g chocolate in a water bath on the stove.
- Pop the cake ball into the cone and dip into the melted chocolate.
- Place on top of cake. You can then use a spoon to add more chocolate to any spots that were missed.
- Decorate with plenty of sprinkles!
Need help planning your next birthday party? Make sure your download our DIY party planning checklist and have a go!