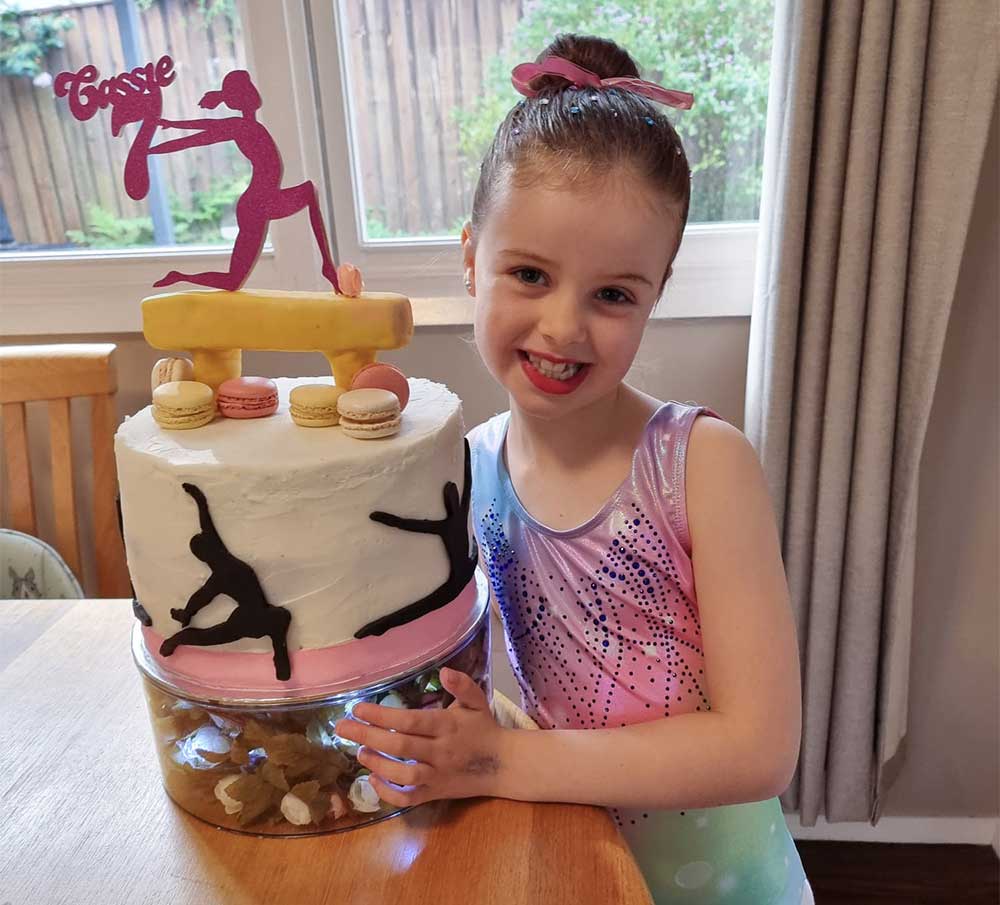
Planning my daughter’s 7th birthday I was tasked with what sounded like an impossible feat: to pull together an incredible gymnastics cake for her! We have a tradition over the years, where I make the party cakes (and the kids help!). Yet, as soon as I started Googling for inspiration, I felt very out of my depth! A gymnastics cake wasn’t going to be easy!
So I pulled Cassie in to help with the planning, and by merging some of the inspiration we found online, we came up with a great design – and it was one of the least stressful cakes I’ve done to date! Ready to create your own gymnastics cake? Here’s how!
Gymnastics Cake Ingredients
- 3 x cakes. Cassie wanted caramel cake, so I just went and bought packet mix. You actually tend to need 2 packet mix per cake tin, and since I created three layers, that was six packet mixes! It’s definitely cheaper to do from scratch, or just use smaller cake tins.
- Brownie: I used a brown slab for the bar, but you can create this in other ways, more below!).
- 1 packet white fondant
- Buttercream (BIG batch)
- Gold dust (from Coles)
- 1 packet black fondant
- Ribbon (to wrap around the base)
- Kmart cake stand (or choose your own!) + fake flowers and fairy lights to go inside.
- Cake board
- Macarons to decorate (from Woolworths)
- Cardboard (I created a cake topper using my Cricut machine, but you can Google and buy one).
- Skewers, to hold things in place
Making The Balance Beam
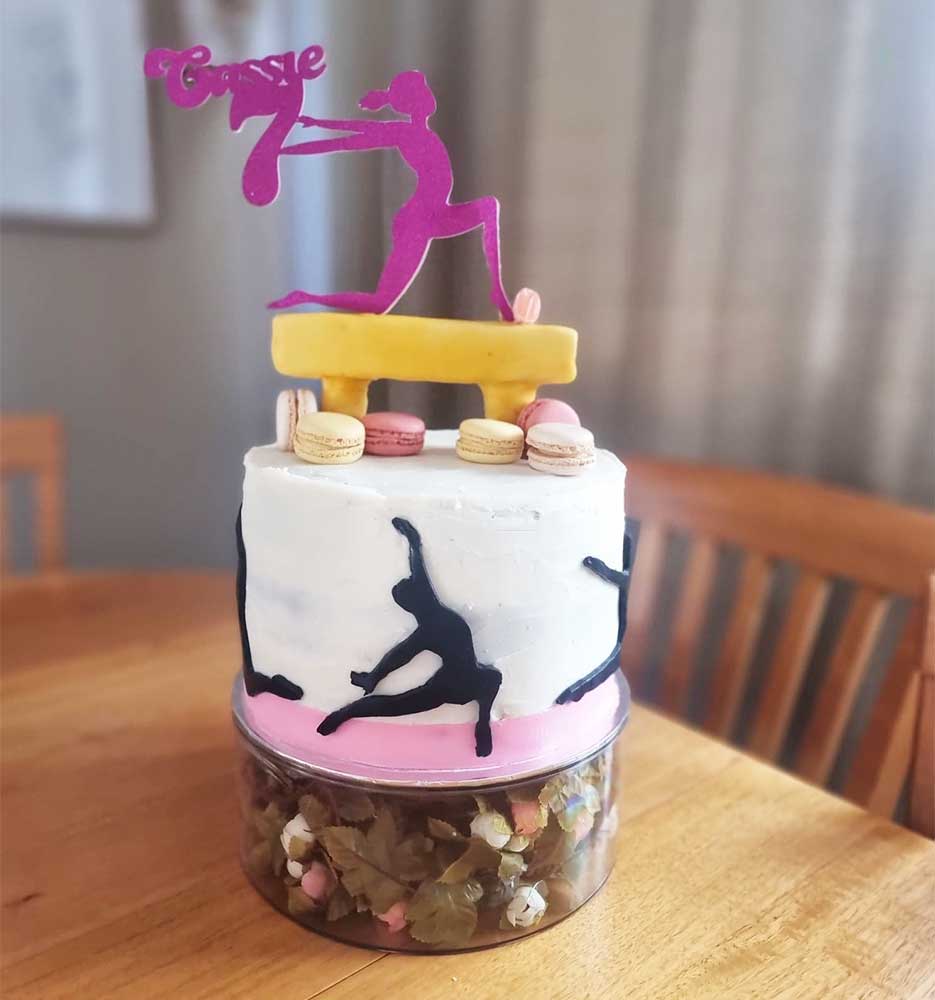
The balance beam on top of the cake is definitely the highlight, and it was easy to make!
I used a brown slab to create the bar (perfect shape!), but you can also make it out of cake (cut to shape), or just use fondant (but this will take a while to dry).
Once the brownie was cut, I covered with buttercream and popped in the fridge to set.
I rolled out white fondant and covered the brownie. I then used the gold dust from Coles and rubbed all over to create the gold effect.
The legs are just fondant! I rolled them into two cylinder shapes and then popped some skewers in to keep their structure and attach to the bottom of the balance beam. So easy and looked great sitting on top!
Making the Gymnastics Cake
- Bake, bake and bake. I normally set aside a day for cake baking (with the kids running around, of course). I make each layer a batch at a time – you can even change up flavours! Once they were baked and had cooled on the bench, I wrapped in cling wrap and then popped in fridge. It’s a good idea to tdo this all a day ahead of decorating as it helps the cake set and makes it easier to cut and layer.
- Get your cake board ready! Bring the first cake layer from the fridge and pop it top down on the cake board. You might need to cut the top off first to create a more level cake.
- Spread buttercream in the middle and follow up with final two layers. Now do a crumb coat over the entire cake and pop in fridge to set.
- I then followed up with another two layers of white buttercream, setting each layer at a time.
- Finish it off by wrapping the ribbon around the bottom and then you’re ready to have some fun with fondant!
Creating the gymnastic silouhettes
The silouhettes were all Cassie’s idea, and it was a great one! I used my Cricut for this, but you can just as easily print and cut (just a little more time involved). I chose from gymnasts from the Design Studio in Cricut and cut onto cardboard. I did five altogether.
I then rolled out the black fondant to a thickness I was happy with, and placed the cardboard cutouts on top and just traced and cut with a knife.
Voila! It was that easy and really looks great. I just stuck them on one by one, no water needed. They stuck directly to the buttercream.
Cake Topper
Once the cake is ready, I popped on the balance beam. I used a few more skewers to secure it into place and then it was time for the cake topper!
Again, I designed the cake topper myself on the Cricut, but you can use any party store to purchase one.
To finish it off, I added in the macarons and the Kmart cake base on the bottom, filled with fake flowers, leaves and fairy lights.
More Gymnastics Inspiration
Need more tips when it comes to planning that next important occasion? Check out our DIY party planning checklist and get started today!