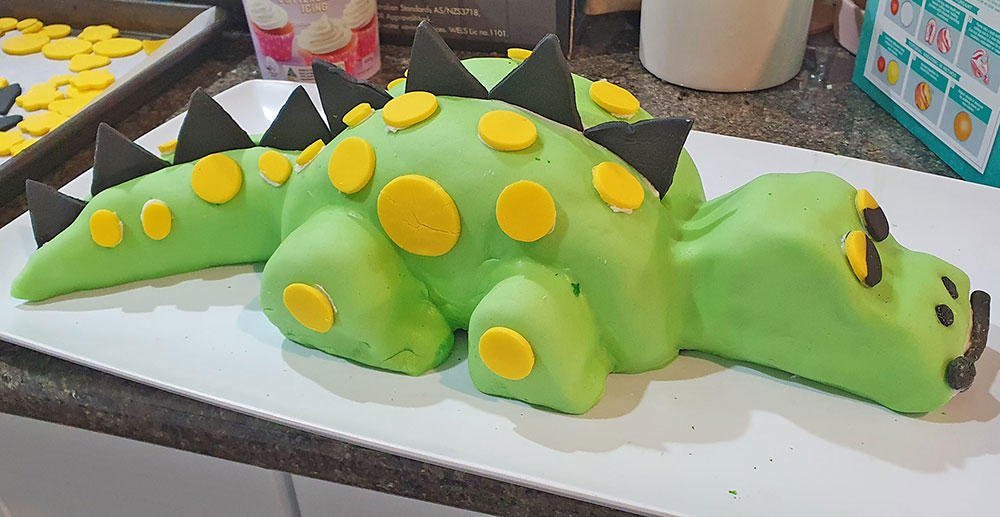
Do you have a dinosaur-loving child in your home? This easy DIY dinosaur cake using Coles mud cakes is one of the simplest ways to create a show-stopping birthday cake — without baking from scratch.
We followed Emma’s method and added a few extra tips along the way (including what actually makes cutting easier and how to avoid the cake collapsing). If you’ve ever felt intimidated by novelty cakes, this one is surprisingly doable.
👉 Best for: beginner cake makers
👉 Time: approx. 2–3 hours + freezing time
This post contains affiliate links. If you purchase through these links, we may earn a small commission at no extra cost to you.
Ingredients
- 2 x Coles mud cakes
2 packs white ready-to-roll fondant - Green food colouring
- Vanilla buttercream icing
- Optional: yellow + brown food colouring (for details)
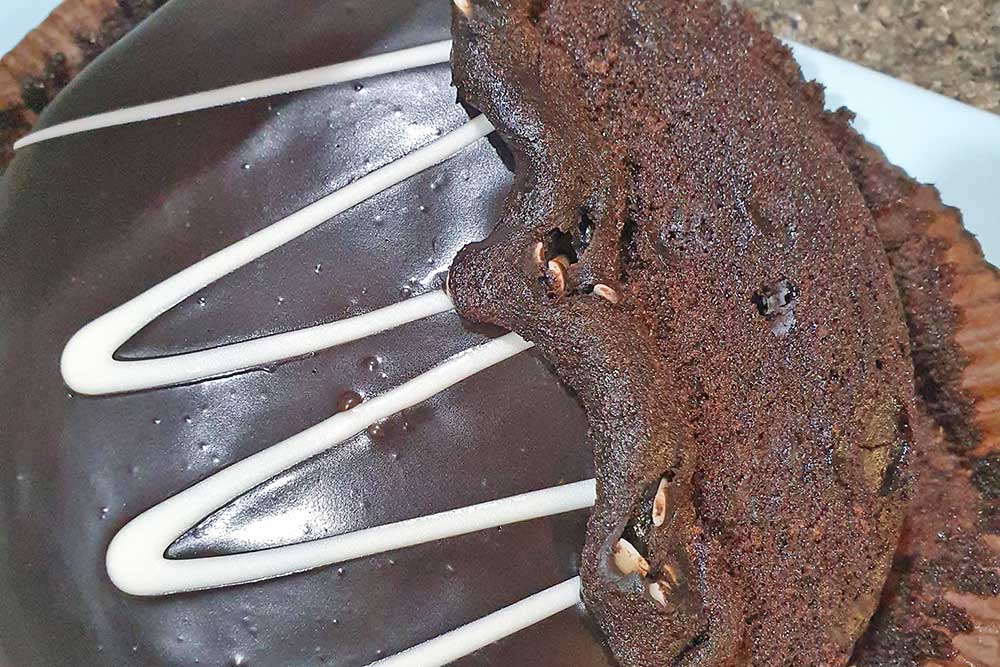
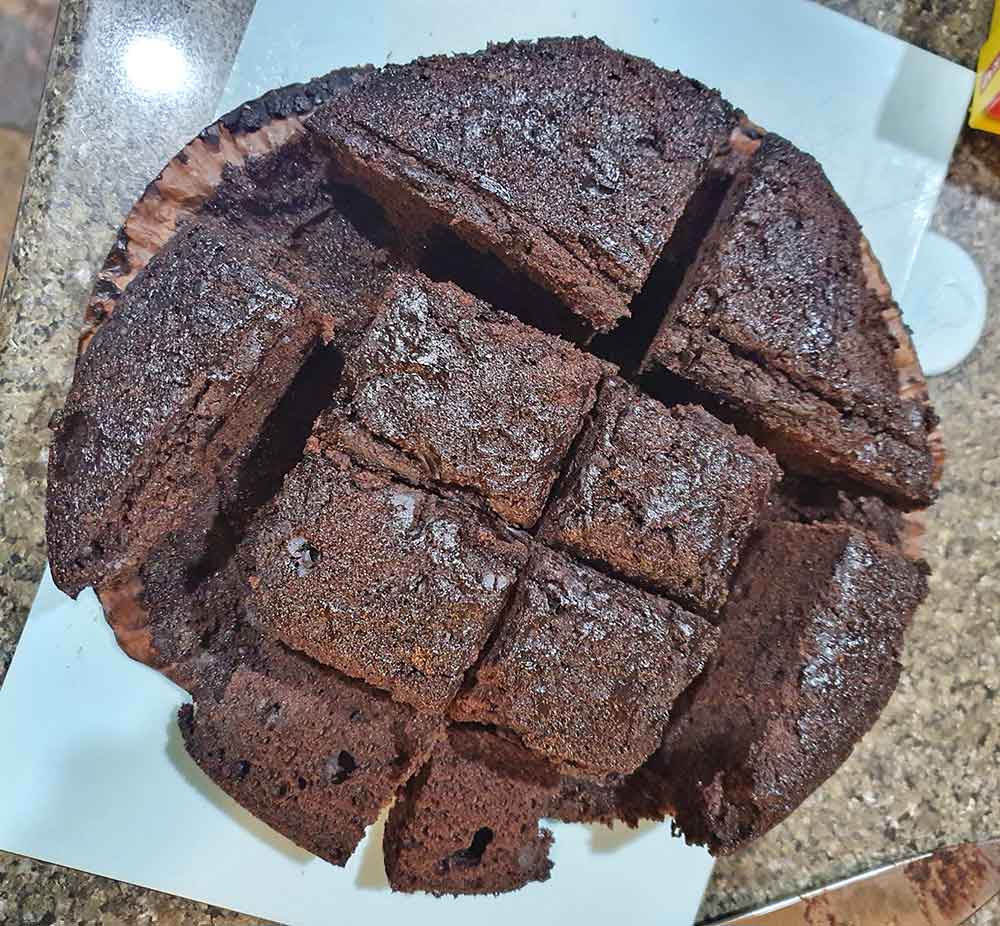
Step 1: Prep the Cake
Emma dove in and rolled off the icing from the Coles mud cakes and did the cuts straight away.
We highly recommend removing the icing first, then freezing the cakes for 1–2 hours before cutting.
✔ Makes carving MUCH easier
✔ Prevents crumbling
✔ Helps you get cleaner dinosaur shapes
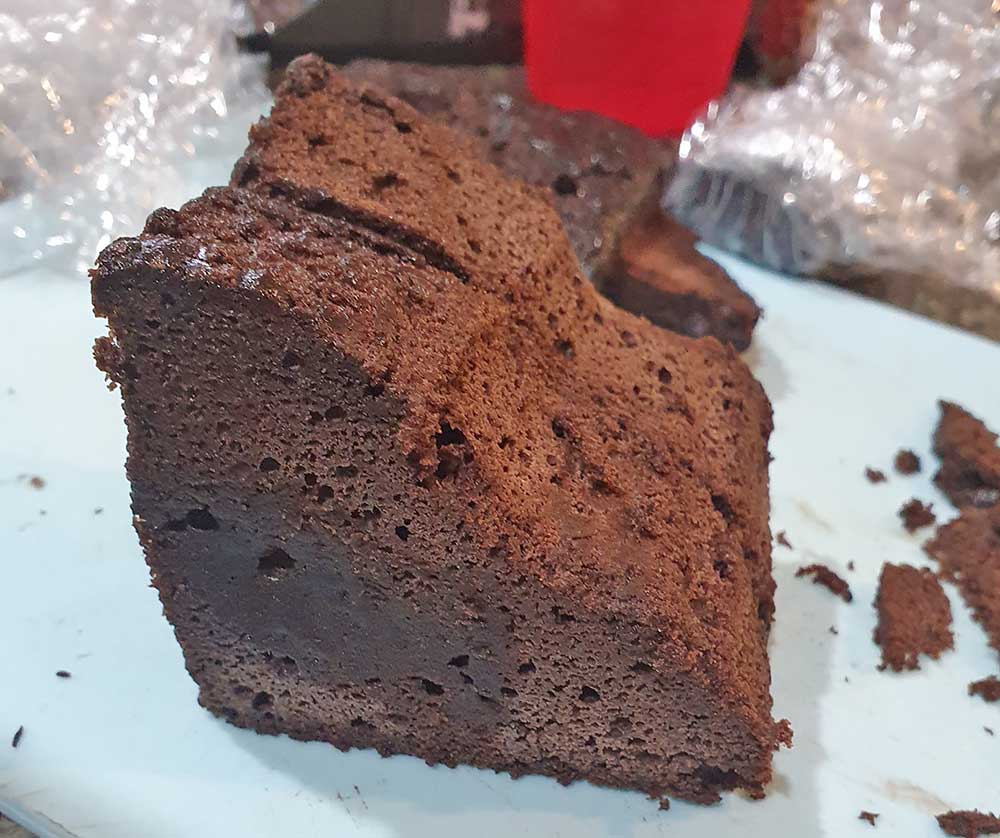
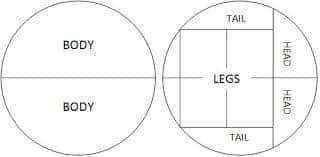
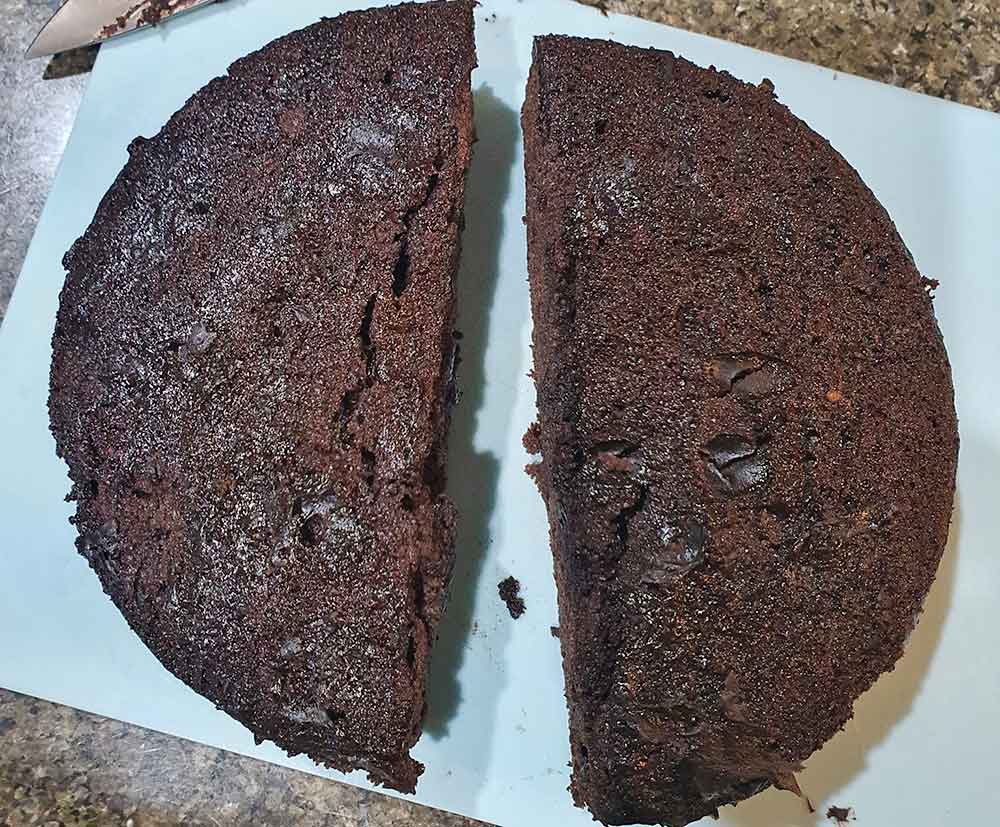
Step 2: Cutting Your Dinosaur Shape
Use a template (see image above if you have one) to guide your cuts.
Helpful tip:
Run your knife under hot water before cutting — but freezing the cake first will make the biggest difference.
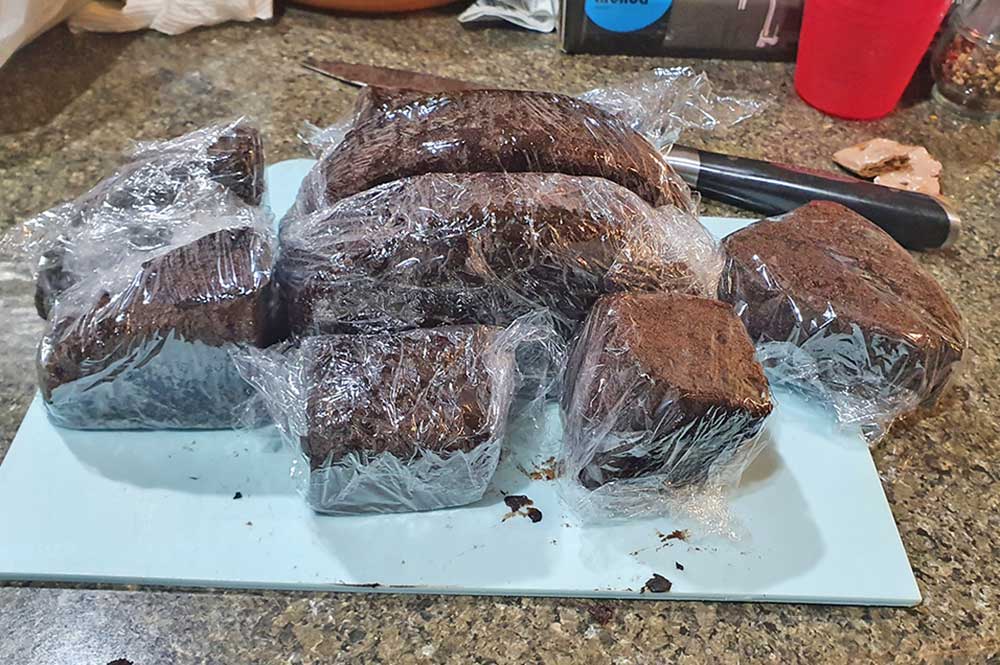
Step 3: Freeze Before Assembling
Once cut, wrap the pieces and freeze again briefly if needed.
👉 If you froze first, you can skip this step and move straight to assembling.
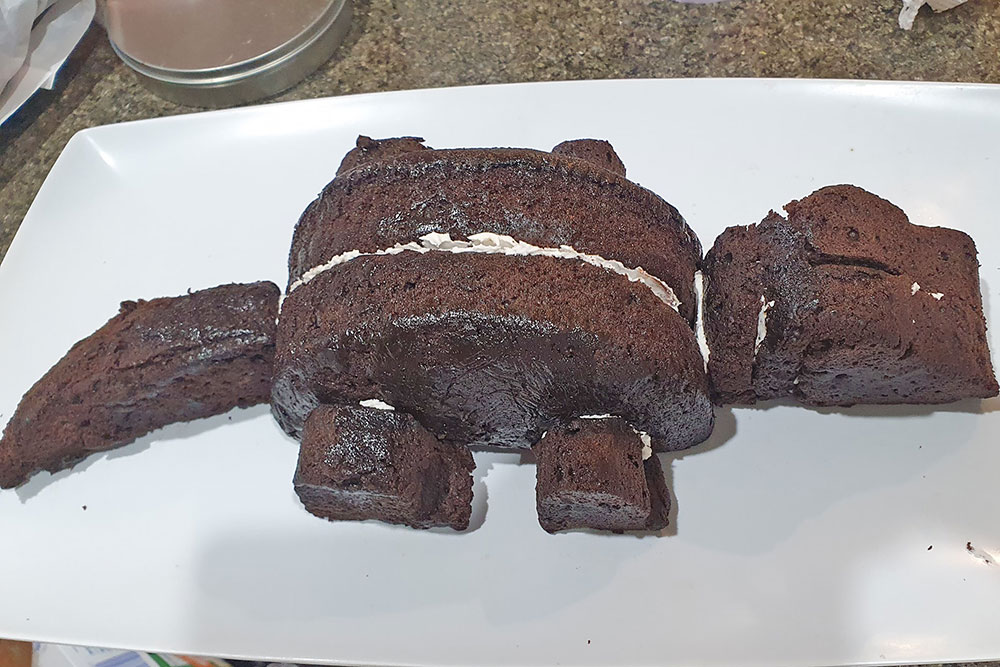
Step 4: Assemble Your Dinosaur
Using buttercream, stick all the pieces together.
Tip: Don’t worry if it looks rough at this stage — the crumb coat will fix most imperfections.
Making the dinosaur cake
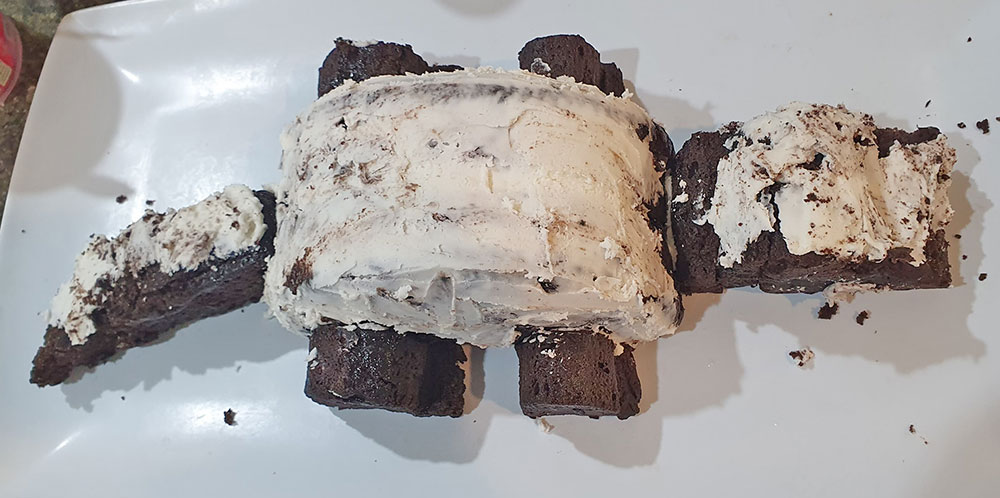
Step 5: Crumb Coat
Cover the entire cake with a thin layer of buttercream.
✔ Locks in crumbs
✔ Smooths the shape
✔ Makes fondant easier to apply
Emma’s tip: The face can be tricky — focus on the overall shape rather than perfection.
Covering in fondant
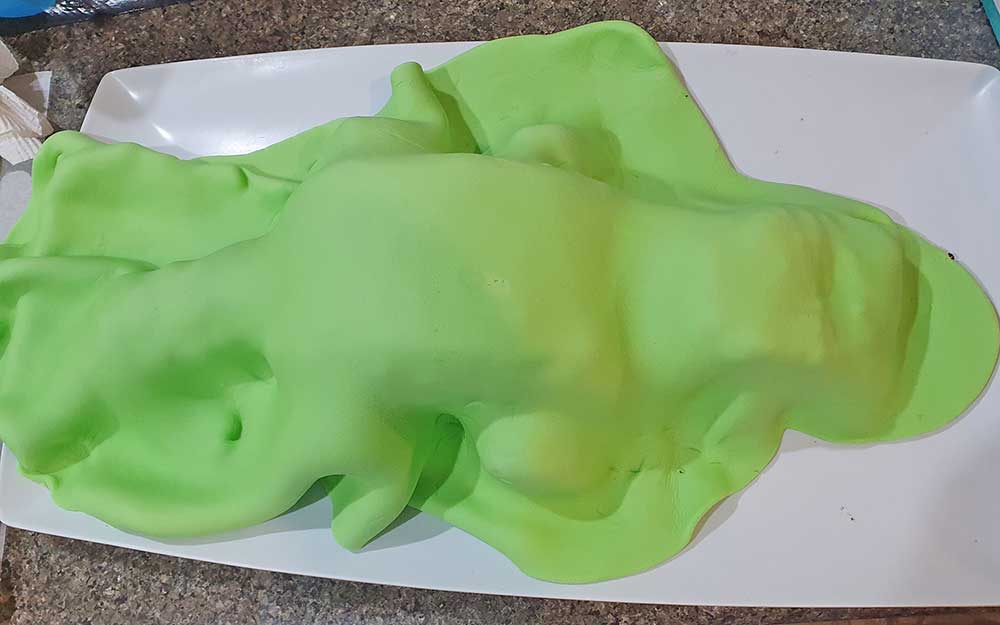
Step 6: Colour & Roll the Fondant
Add a few drops of green colouring to your fondant and knead until evenly coloured. Roll out a large sheet — big enough to cover the entire cake.
Pro tip: Dust your surface lightly with flour or icing sugar to prevent sticking.
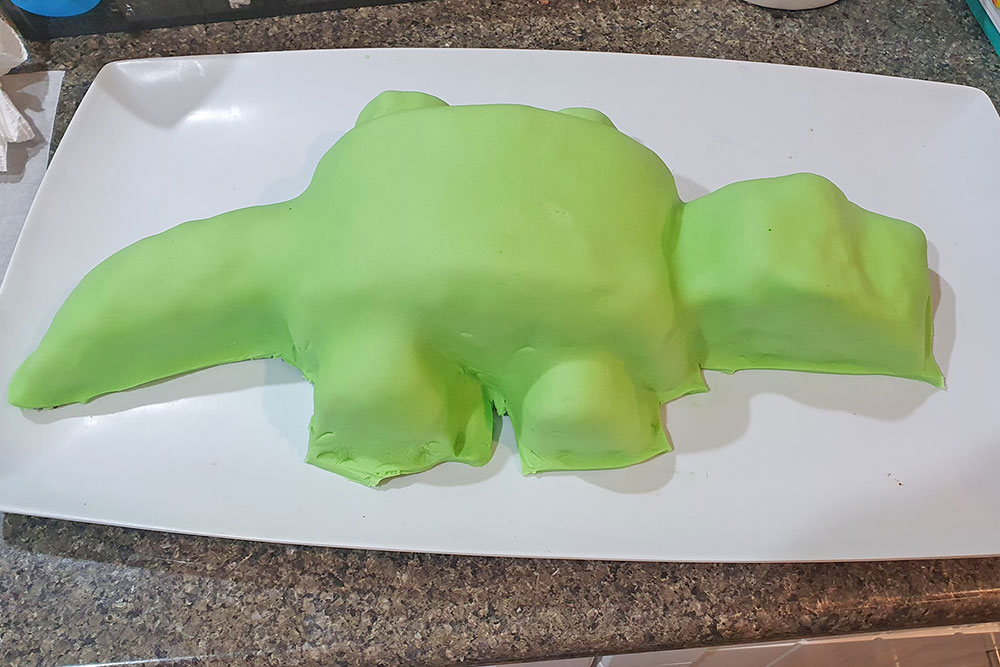
Step 7: Cover the Cake
Lift the fondant carefully and drape it over the cake.
Smooth gently with your hands:
- Start from the top
- Work down the sides
- Press into curves slowly
When you’re done and happy, cut around the bottom with a knife. Don’t get too close…you can just use your fingers to smooth it out at the end.
Now, repeat with yellow food colouring and brown food colouring for the spikes and dots. It helps to let the spikes dry at least overnight so they go a little hard.
Final Touches for dinosaur cake
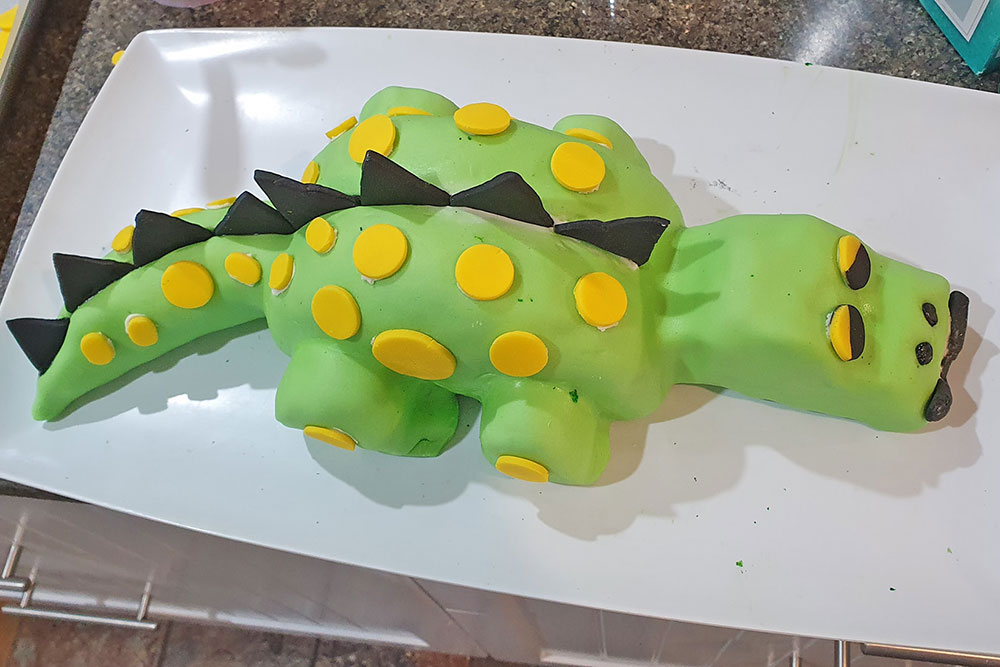
You can just use a little water to stick the fondant dots to the dinosaur. The nose and mouth have also been shaped from the brown fondant.
Here’s everything you need to know about choosing the right cake board for your Dinosaur cake.
Voila! There you have it. The cutest little dinosaur cake. And it’s something you can definitely tackle for yourself.
If you need more Dinosaur party inspiration, check out these posts:
Need more tips when it comes to planning that next important occasion? Check out our DIY party planning checklist and get started today!


