Looking for a cake with a difference? This pouring teacup cake has the ‘wow’ factor you’re after and it’s not too hard to achieve! With all the right tools on hand, and a just a sprinkle of patience, you can pull of this gorgeous cake. Here’s how!
Teapot Cake Ingredients
Only the base of this cake is actual cake (more on this soon), so the first thing you need to work out is what flavour cake you want! I went with a carrot cake, and you can find an amazing recipe here. Here’s what else you’ll need:
- Cake box: the clear box you see is from Kmart and has been filled with fake flowers.
- Fake flowers: these are for inside the cake box and around the cake and teacup. You can shop similar here.
- Cake board: you also need a cake board to hold the cake box and teacup. The bigger the better! This one is 45cm. You’ll find plenty of options here.
- Teacup and saucer: this was just one I had lying around at home, but you can also visit an Op Shop!
- Rice Krispie: you can either grab the kid packets of rice krispie, or make your own mix with Rice Bubbles and Marshmallows.
- Gumpaste
- Fondant: you can either buy fondant in different colours for the flowers, or you can dye it yourself with some food colouring.
- Rose moulds: I made the roses and many of the flowers using fondant moulds and cutters. You can shop the rose moulds here. You can shop flower cutters here.
- Edible gold paint
- Cream Cheese Icing: again just grab any recipe for this one!
Starting with the gumpaste and fondant
The teapot is the best place to start with this cake, as you can make it way ahead of time and give each part the time to dry.
Firstly, you need an idea in mind of how big this teapo with be. I made mine using rice krispies, but you might prefer to back and cake in a dome cake pan. The choice is yours!
I started with white gumpaste and rolled out the spout and handle to leave to dry. I did this about 5 days before the event, so it had a chance to dry out. As it dried, I painted the parts I wanted gold, giving time to dry between coats.
The next step was to make the flowers and leaves. I just got out a big board and cut them all out and moulded until I had plenty to work with in a variety of colours and sizes, knowing they wouldn’t go to waste in the process.
Making The Teapot
I made the teapot from rice krispies, which you can buy premade from Coles. It was definitely the expensive option, but I was after convenience! I simply mushed them all together and formed into the shape I wanted them placed in the fridge to set. You can also make your own mixture with rice bubbles and marshmallow and do the same. Keep a little extra aside to use to help tilt the teapot on the cake.
Once set, I brought out and covered with a layer of cream cheese icing and then rolled out some white fondant to go over the top. Keep the fondant nice and thick for this.
Now the fun part, decorating! Well, the original spout I made actually cracked, so I made a fresh one and joined it up to the teapot as much as possible to prevent it from happening again.
I stuck the handle on with a tooth pick and a little extra fondant to get it to hold.
I then rolled a ball of fondant on top of the teapot and covered with the circle to make the lid. Top with another ball and wrapped around with a snake of fondant. I painted this last part once it was on the cake.
Then for the fun part, sticking the flowers on! These flowers were just bought from Coles (so not ones I made) and stuck on with a little water.
Voila! Your teapot is ready and waiting.
Cake Baking Time
Now you can get to work baking. I did three layers for this cake and made it a day ahead of time, so it had the chance to set in the fridge before icing. I also made an extra cupcake to go inside the tea cup for an added touch!
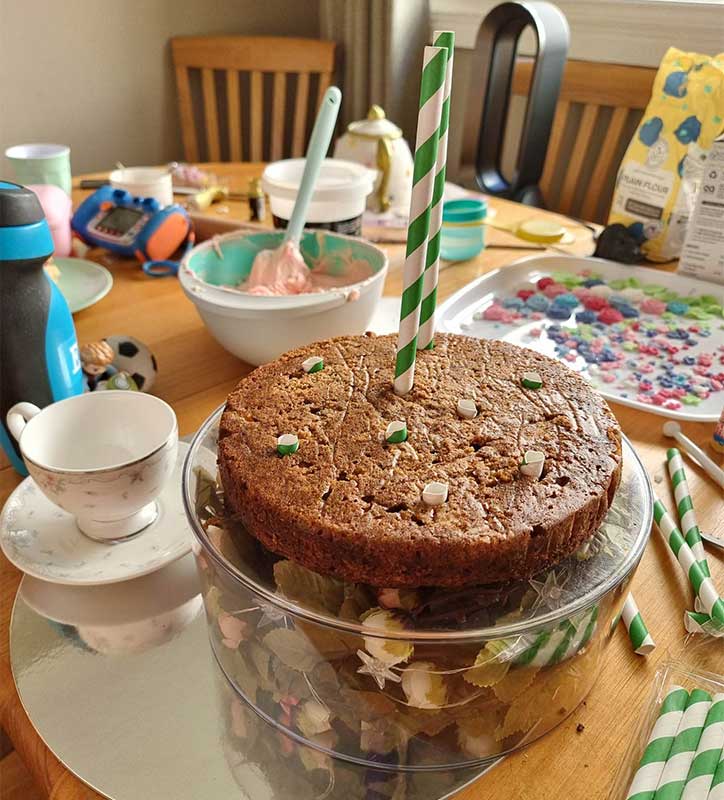
Considering how heaving the teacup was, I knew the cake needed a little support to hold it on top. As I put the cake together I cut up straws and popped them in for stability. These were then covered in cream cheese icing and topped with the next layer. This process was repeated for all three layers.
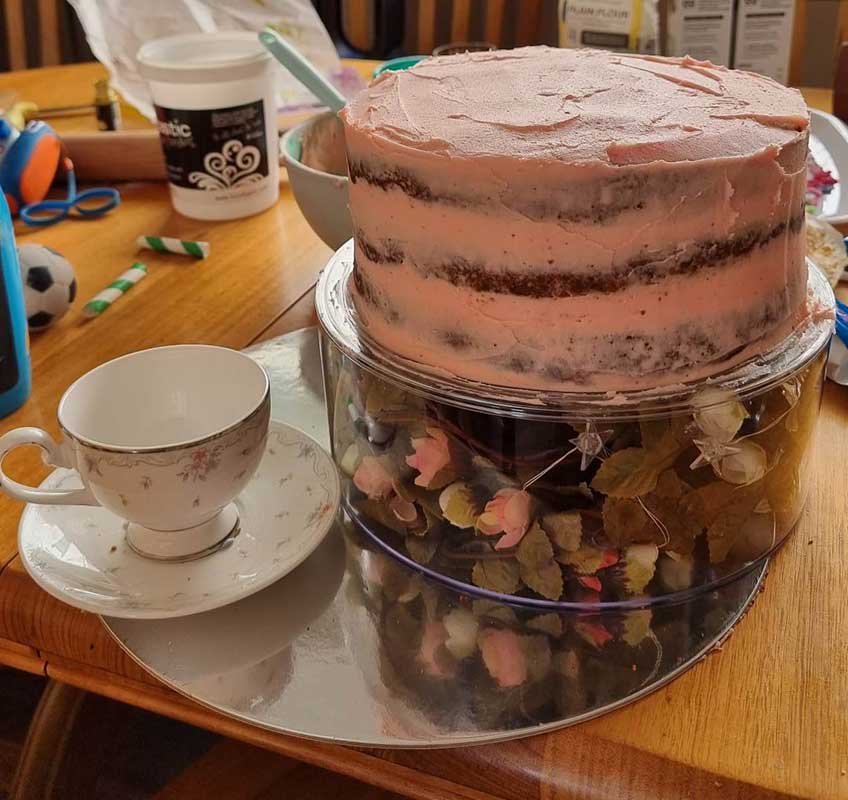
Next step was icing the cake with the cream cheese icing. I went for a pink cake to match the teapot, but you can choose any colour you like.
Again, I went for the nake cake look and simply used a knife to spread this layer one. Once it was ready I popped it in the fridge to chill until the big day!
Making the flower water
Now for the tricky part, the flower water. I started off rolling a stick of fondant the right length and stuck a skewer inside to add some structure and left it to dry. I then started sticking the flowers on with water. I hadn’t left the stick long enough to dry (only made it the night before), so it wasn’t as solid as I would have liked.
So, I bailed! I decided this part of the cake didn’t need to be edible and instead, wrapped three pipecleaners around each other and glued the flowers one. I wrapped both ends of the pipecleaners in fondant and stuck these into the cake, so it was completely food safe. This was much easier and had the added benefit of having a little bend to it!
Putting the cake together
With all the pieces ready to go, I waited until the day to assemble. It was fun!
I placed the teapot on top and slightly tilted it towards the cup with some rice krispie under the base. This was covered with cream cheese icing and flowers were stuck around to hide it.
The rest was just decorating fun however you like! I added fake flowers into the base of the cake, the edible flowers around the top and a mixture of both on top of the cupcake in the teacup.
It was a process, but well-worth the results!
Need some more tea party inspiration?
Check out these posts below to pull together the perfect tea party:
Need more tips when it comes to planning that next important occasion? Check out our DIY party planning checklist and get started today!


2 thoughts on “Pouring Teapot cake”
Pingback: Cassie's 5th Tea Party - DIY Party Central
Pingback: Tea Party 4th Birthday - DIY Party Central
Comments are closed.