
A Bluey cake topper is one of the easiest ways to transform even the simplest cake into something that looks
Planning a Bluey birthday party? The right decorations can transform your home, backyard or party venue into a Bluey-inspired celebration
Looking for Bluey party games that will keep kids entertained from start to finish? You’re in luck! One of the
If you’ve spent any time in a toy shop, gift store or school playground lately, you’ve probably heard kids talking
If your child has suddenly started talking about viral dumplings, mystery dumplings or squishy dumplings, you are definitely not alone.
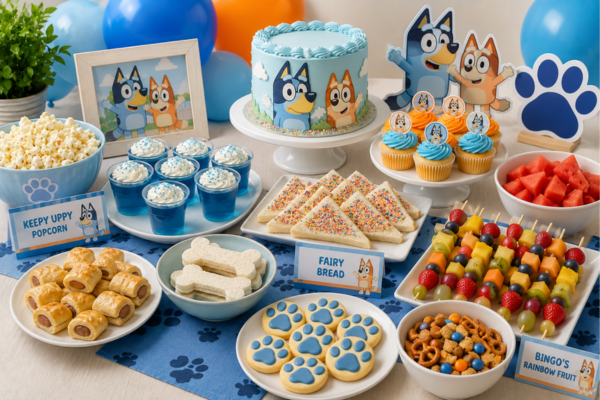
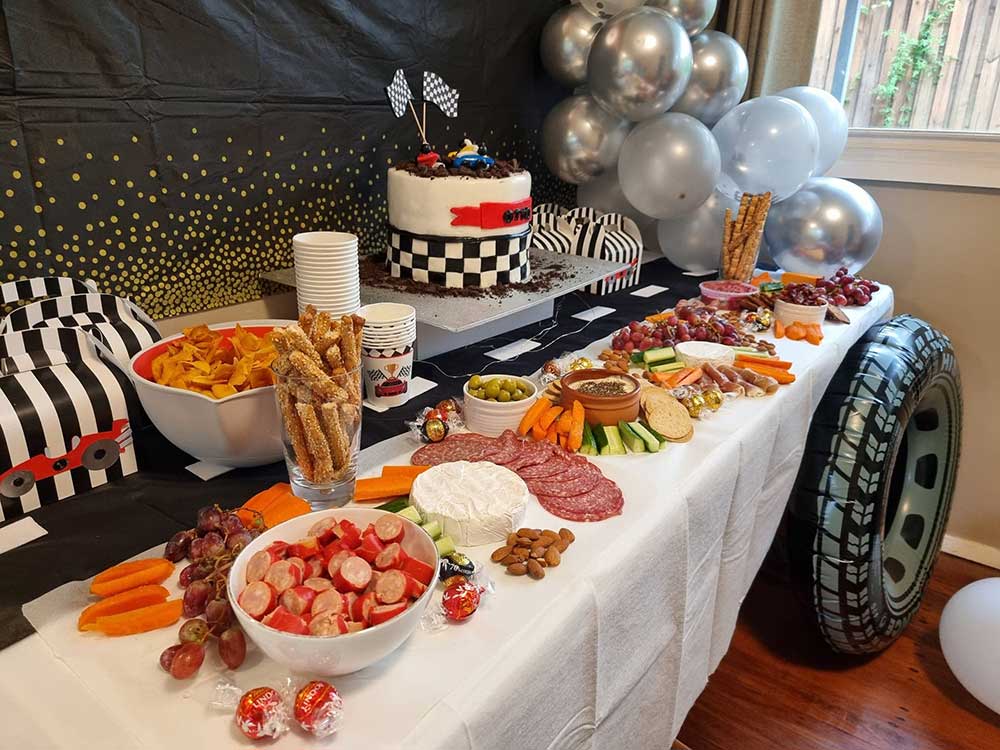
Planning a Bluey birthday party? The food is one of the easiest ways to bring the theme to life. Whether